Pasta or any kind of noodles can be the basis for a warm comforting meal, but can be even more satisfying when you can take it with you on a hike or camping trip. Here's how to dry pasta for camping create a homemade 'instant' meal for the pantry or the road!
Why It's Important To Dry Homemade Pasta for Camping
Drying homemade pasta is essential for several reasons. First, it keeps your pasta fresh longer by preventing mold and bacteria. Second, it helps the pasta become less sticky and easier to handle, ensuring it cooks evenly and maintains the perfect texture. Third, dried pasta is lightweight, portable, and easy to cook for camping, making it an ideal choice for outdoor meals.
How It Works: Cooking and Drying Pasta
Drying pasta involves cooking it partially and removing the moisture to make it shelf-stable. Cooking the pasta before drying helps gelatinize the starches, which aids in maintaining the pasta's shape and texture during rehydration. According to an article published in Italian Food Tech, proper drying involves reducing the moisture content from about 31% to 12-13%, ensuring the pasta remains firm and mold-free.
Why It's Hard to Dry Fresh Pasta

Raw or fresh pasta typically contains a higher moisture content, making it more susceptible to mold and spoilage if not properly dried. Home cooks often find it challenging to dry fresh or raw pasta because it requires precise temperature and humidity control to avoid bacterial growth and achieve the desired texture. Drying fresh pasta improperly can lead to an uneven texture, with some parts drying too quickly and others remaining too moist, increasing the risk of spoilage.
How To Dry Homemade Pasta for Camping
Here's a step-by-step guide to preparing pasta specifically for camping:
Cook the Pasta
Start cooking your pasta until it's underdone (al dente). This is important because when you rehydrate it at camp, the pasta will finish cooking.
- Boil Water: Bring a large pot of salted water to a roaring boil.
- Cook Pasta: Add the pasta and cook it for about 2 minutes less than the package instructions or your usual cooking time.
- Drain and Rinse: Drain the pasta and rinse it under cold water to stop the cooking process.
Dehydrate the Pasta
Once the pasta is cooked, it's time to dehydrate it:
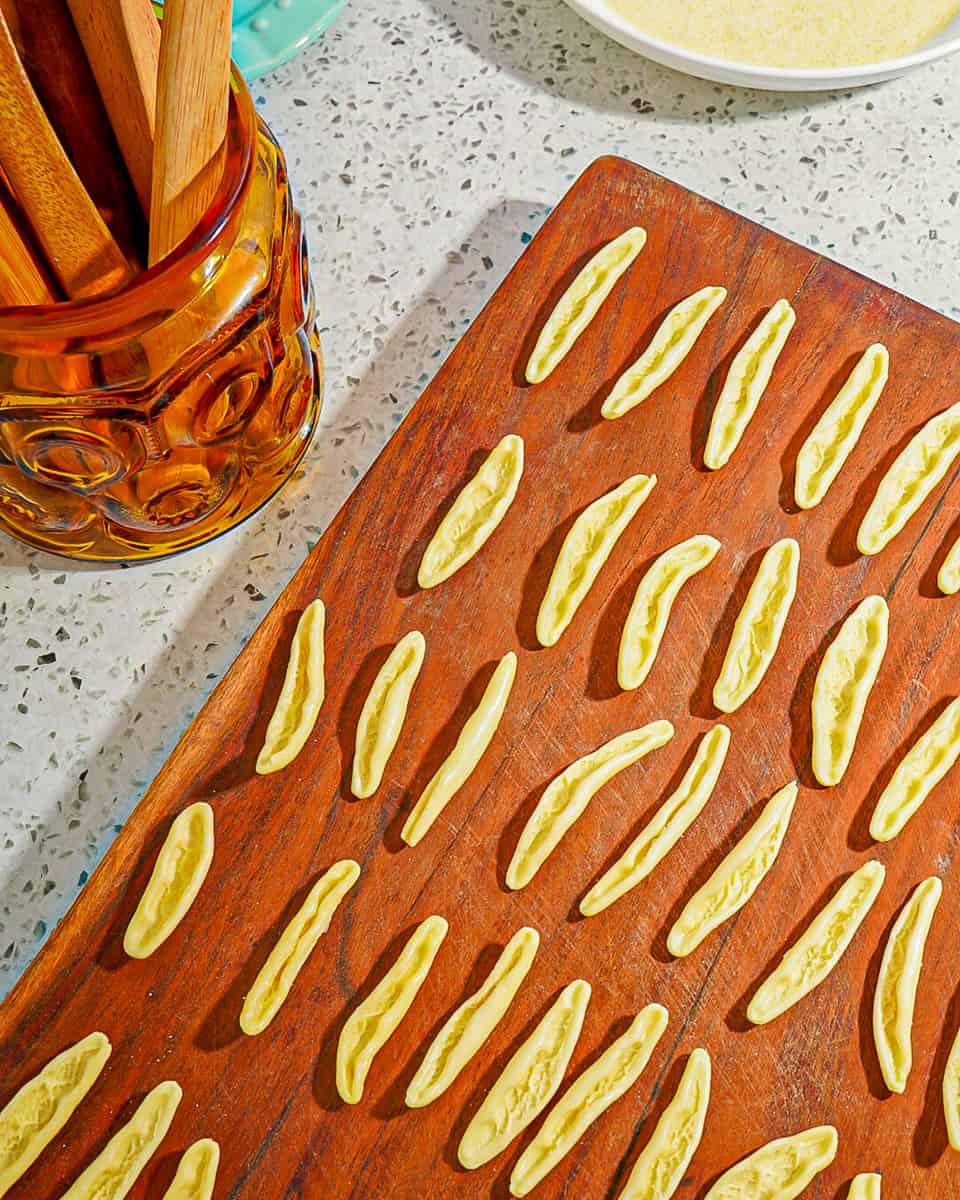
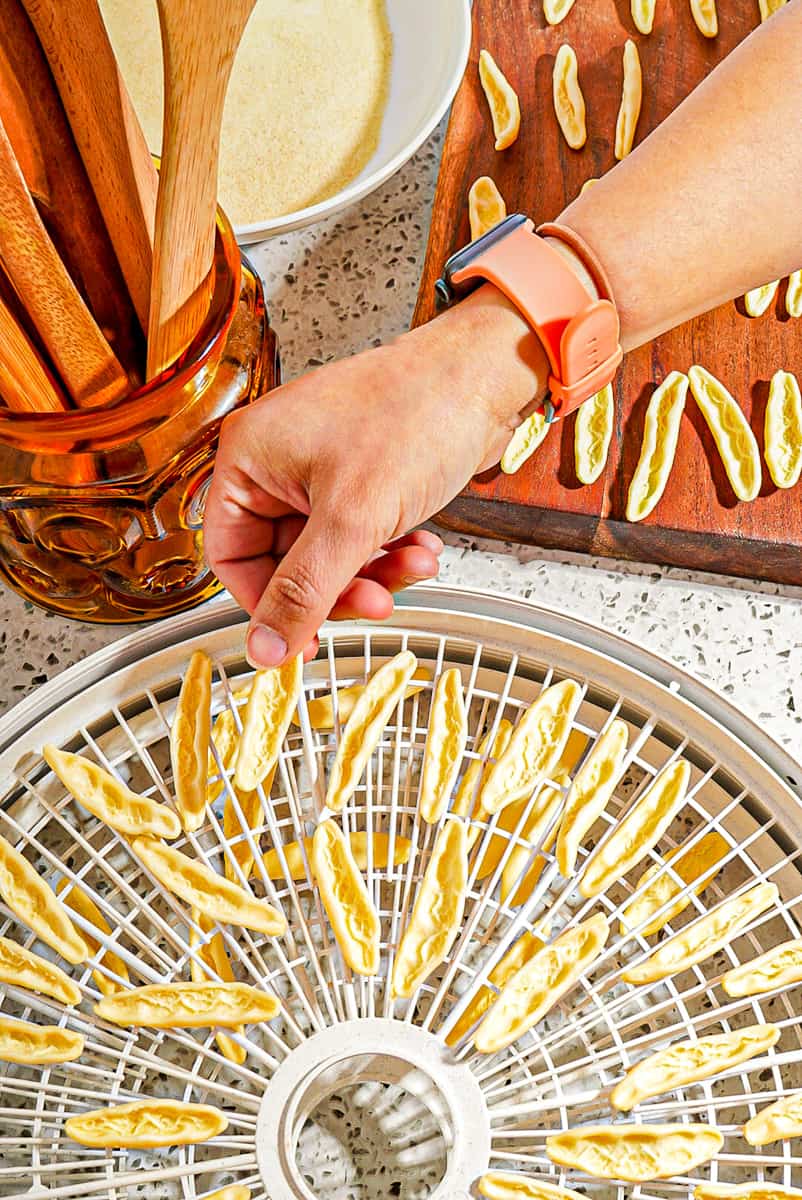
Spread Out Pasta: Lay the cooked pasta in a single layer on dehydrator trays or lined baking sheets. Ensure the pieces are not touching each other. While a drying rack can be used, it's often better suited for raw pasta; cooked pasta may need more surface contact to dry evenly.

Set Dehydrator: If using a dehydrator, set it to 135°F (57°C) and let it run for 2-4 hours, checking occasionally until the pasta is completely dry. If using an oven, set it to the lowest possible temperature and keep the door slightly open to allow moisture to escape. Check frequently until the pasta is dry.
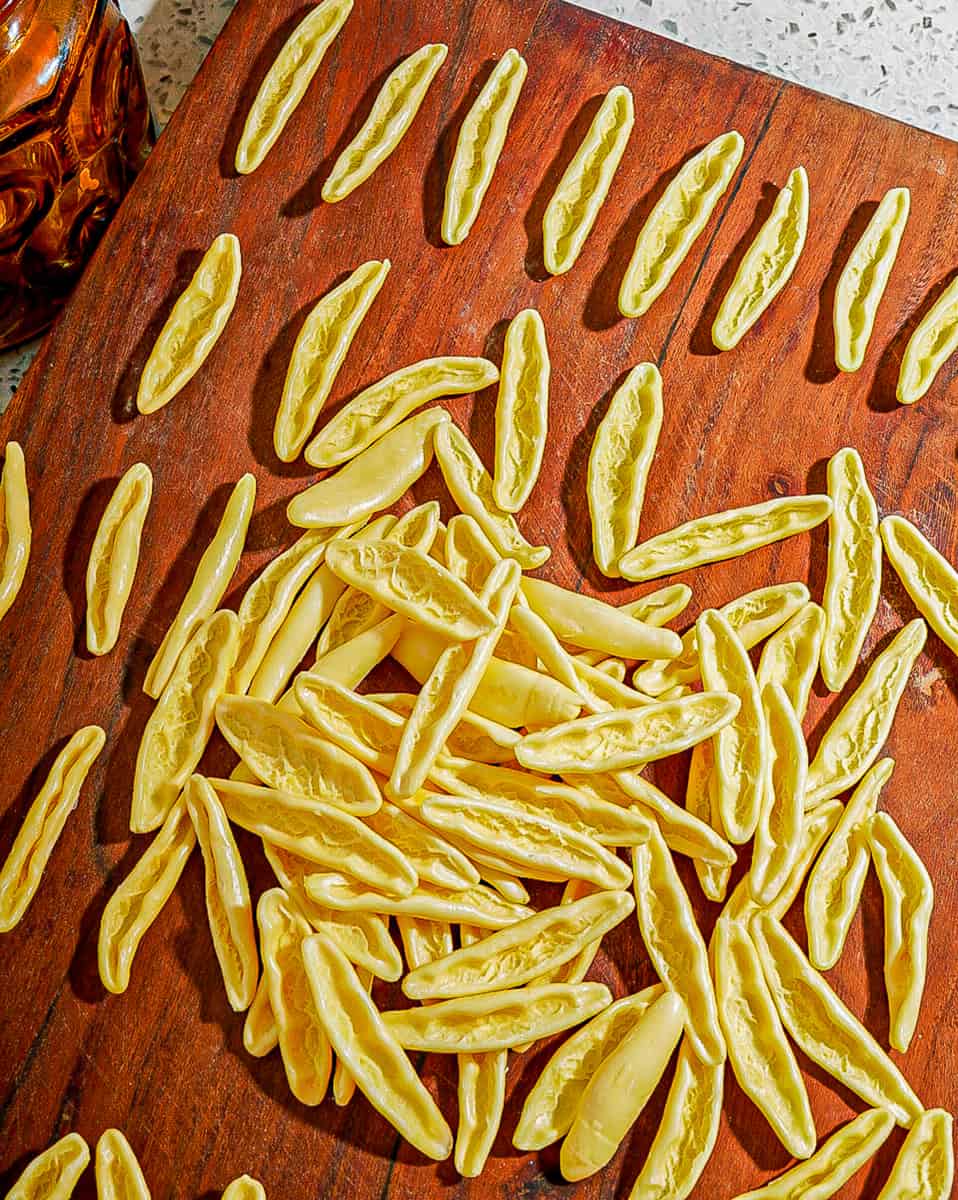
Check Dryness: The pasta should be brittle and snap easily when fully dried.
Store the Dried Pasta
Proper storage is crucial to keep your pasta fresh and ready for your trip:
- Airtight Containers: Store the dried pasta in containers with a tight lid or resealable bags to keep out moisture and air.
- Cool, Dry Place: Keep the containers in a cool, dry place until you're ready to pack for your trip.
Drying Different Shapes of Pasta
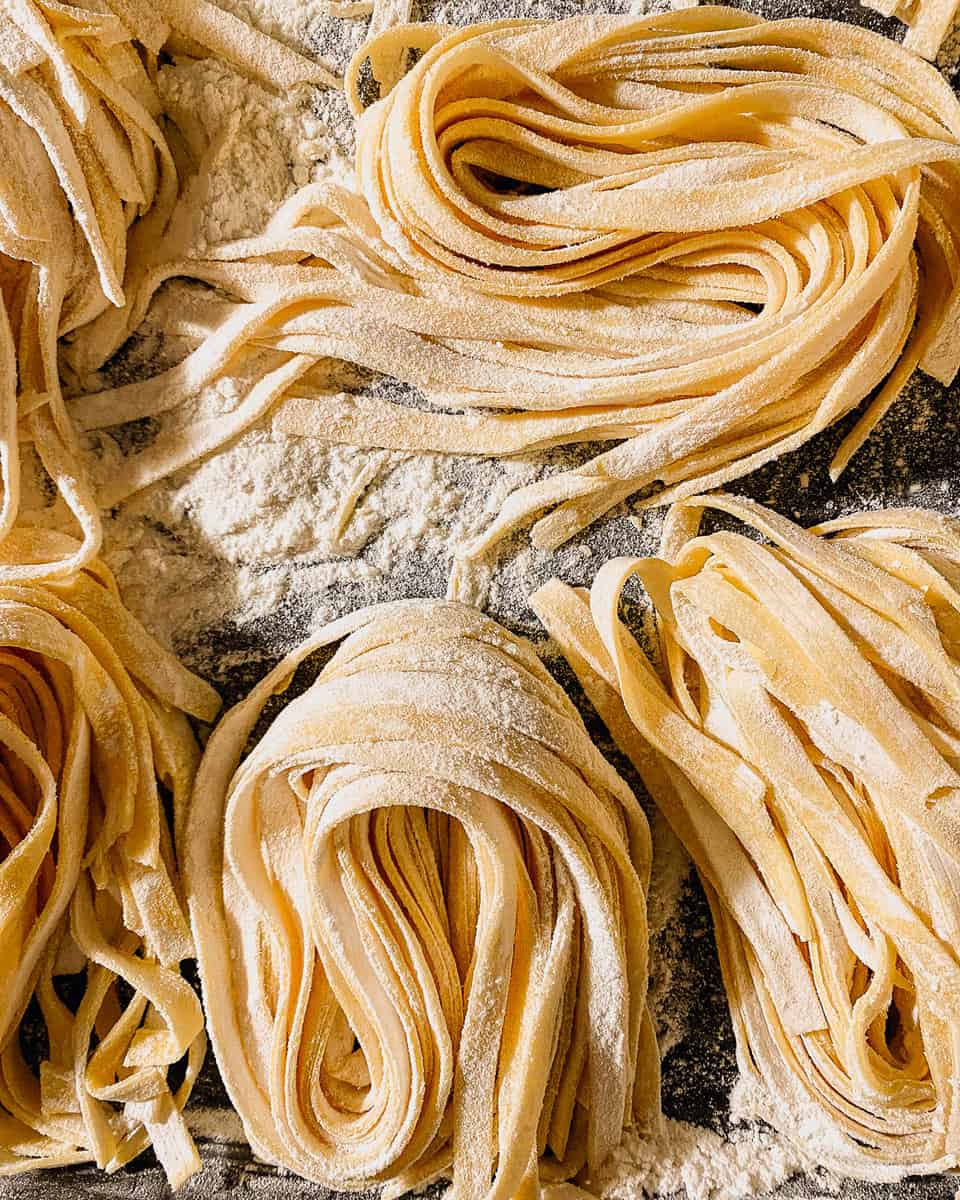
When drying different pasta shapes for camping, consider that thicker, larger shapes, such as lasagna or fettuccine, will take longer to dry than thinner shapes like spaghetti or angel hair which would benefit from grouping into nests before drying. Make sure all shapes are evenly spread on the drying trays or baking sheets for proper air circulation.
Some shapes may require slightly different rehydration times and methods, so it's crucial to label and note these differences when packaging for camping.
Creative Ways to Use Dried Pasta While Camping
Dried pasta can be used in a variety of ways during camping trips:
Soups and Stews
Add dried pasta to soups and stews for a hearty meal. The pasta will rehydrate in the broth, making a delicious and filling dish.
Cold Pasta Salads
Rehydrate pasta by soaking it in hot water, then cool it down and mix it with fresh vegetables, canned beans, and a simple dressing for a refreshing pasta salad.
One-Pot Meals
Combine dried pasta with dehydrated vegetables, spices, and a protein source (like canned tuna or beans) for easy one-pot meals. Add water and cook until everything is rehydrated and heated through.
Tips for Properly Packaging and Transporting Dried Pasta for Camping

- Use Lightweight Containers: To reduce the weight of your pack, opt for lightweight, airtight containers or resealable plastic bags.
- Label Your Bags: Label each bag with the type of pasta and the rehydration instructions to make meal prep easier at camp.
- Pack Smart: Store the pasta in a cool, dry place in your backpack to prevent it from getting crushed or exposed to moisture.
Benefits of Making Your Pasta for Camping
Cost Savings
Making your dried pasta can be more cost-effective than buying pre-packaged dehydrated meals. Simple ingredients like flour, eggs, and water are often cheaper in bulk.
Authority of Skills
As someone who learned to make pasta in Italy and has mastered over 100 pasta shapes, I can attest to the benefits of homemade pasta. The quality and taste are unparalleled, and making and drying pasta is a rewarding and practical skill, but having tried to dry fresh pasta, I've learned that it takes work for the home cook.
Why Make Dried Pasta Even If You Don't Camp
Even if you don't camp, drying homemade pasta can be beneficial:
- Convenience: Dried pasta is a convenient, quick-cooking option for busy weeknights.
- Long Shelf Life: Its long shelf life makes it a great pantry staple for last-minute meals.
- Flavor and Quality: Homemade dried pasta offers superior flavor and texture compared to store-bought options.
Drying homemade pasta can enhance its flavor, texture, and shelf life, making it an excellent option for camping. Whether using traditional methods or modern techniques, these tips will help ensure your pasta is perfectly dried and ready for your next adventure. Enjoy the process and the delicious results!



John Ungerer says
So we tried this ourselves this weekend, but ran into what I would say is an issue. Maybe you have some ideas? We used a basic recipe, flour, eggs and a pinch of salt. We have a pasta attachment for our kitchen aid mixer, so we rolled out the pasta, and then used the spaghetti attachment. Laid out on dehydrator screens, and dried for 3 hours.
I found though, our pasta was extremely brittle. Just trying to get them off the screens and in bags/jars, they broke in small pieces. We cooked a small batch to test, and they tasted great. But not sure why they were so brittle. I don't see how we could vacuum pack them without it just crushing them to tiny pieces. Any ideas, thoughts would be greatly appreciated.
Adele Virtue says
you can vacuum seal them in a mason jar as opposed to a bag and they should not break up there. There is an attachment for the food saver sealer for a wide mouth and a regular mouth jar. We use the wide mouth the most for things like this. We even transfer peanut butter to wide mouth pints to keep it fresher and vacuum seal them also.
Stephanie Gravalese says
Fantastic, thanks, Adele! I need to check that out and will be redoing this article as well, as I've received many tips and tricks to share with readers. Appreciate you stopping by and sharing.