It isn't a coincidence that lemons are the same color and shape as the sun because when you pair lemons with honey, you get a delicious combination that tastes like pure sunshine!

If you're a fan of the benefits of raw honey or have had the delicious fermented garlic honey, this easy two-ingredient recipe will have you stocking up on citrus! All you need is sliced lemons, raw honey, a clean glass jar, and some patience, for a couple weeks at least!
Jump to:
Why you'll enjoy this recipe all year long
Fermented lemon slices are a great way to use raw honey. If you like this recipe be sure to check my recipe on fermented ginger, cranberries, and jalapenos, all made more delicious with the power of raw honey . They're also simple to make and take only two ingredients.
The fermentation process imbues this sweet treat with the potency of citrus, and the power of raw honey
If you're looking for a simple winter project that will yield delicious results in your kitchen, this is the recipe for you.
Fermenting lemon slices in raw honey is a traditional method of preserving lemons that have been used for centuries. The process involves slicing the lemons and placing them in a jar with raw honey, which acts as a natural preservative.
The lemons ferment in the honey over time, creating a tangy, slightly sour flavor unique to this preservation method.
Fermented lemon slices are often used in cooking to add a tangy taste to dishes or can be eaten as a snack. They are a great way to preserve lemons and add a unique flavor to your cooking.
Ingredients


- fresh lemons
- raw honey
How to Ferment Lemon slices with Honey
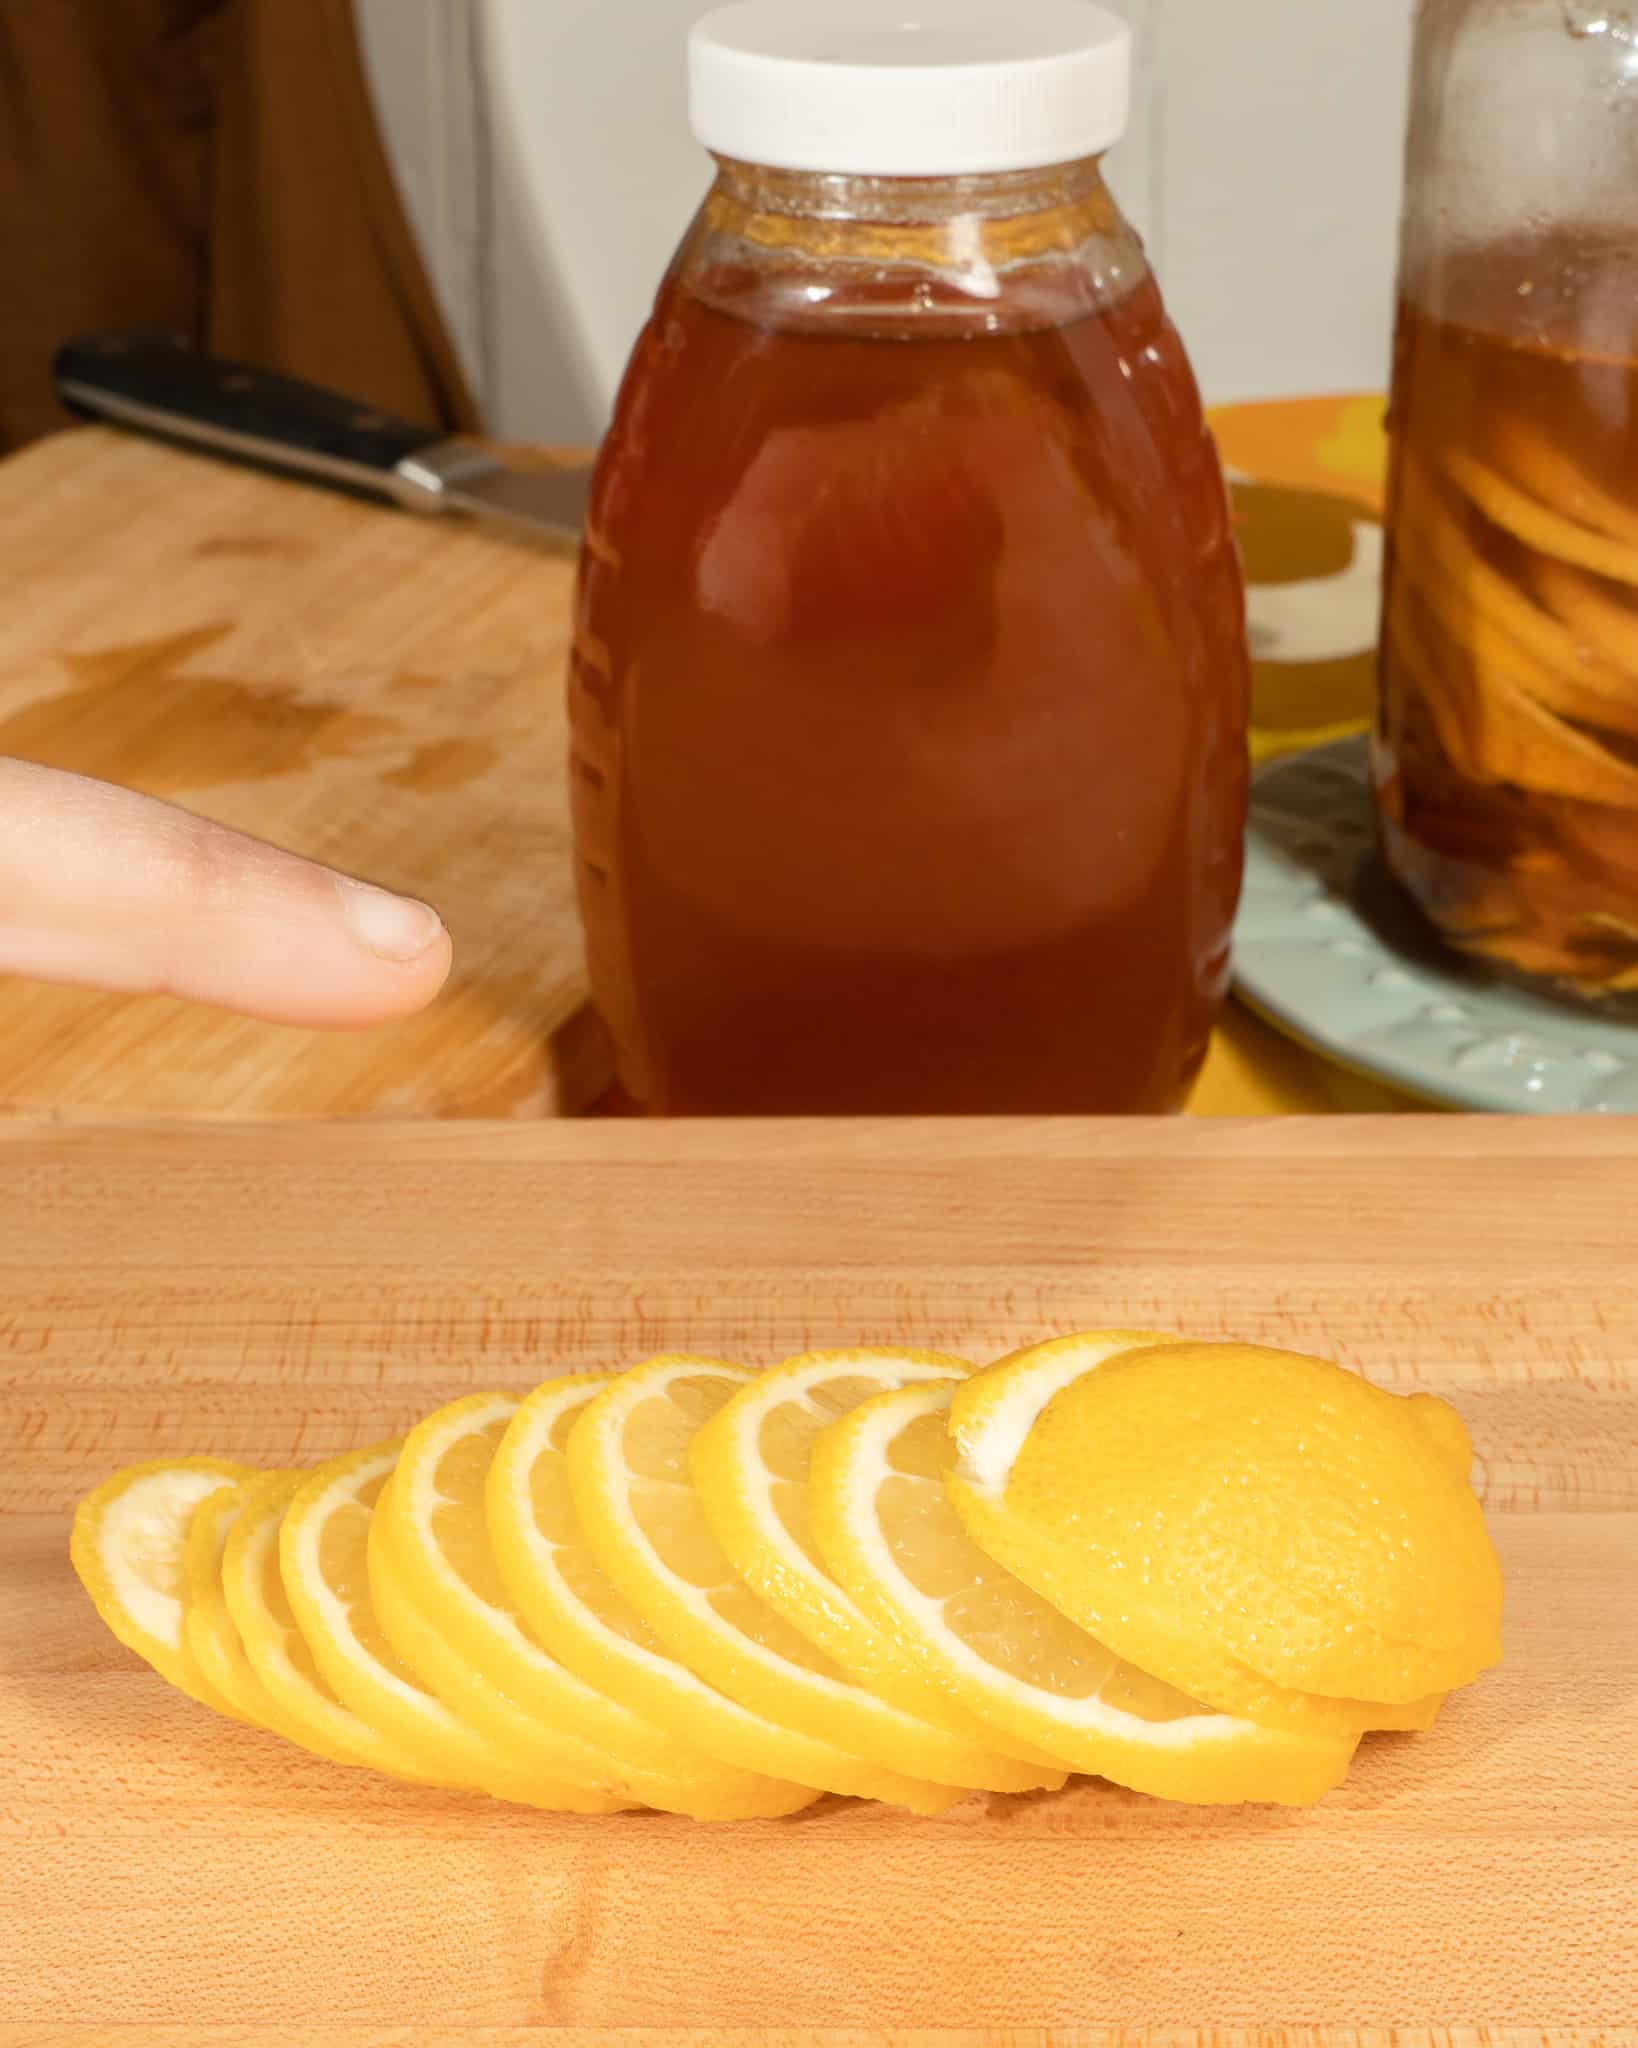
- Wash the lemons thoroughly, making sure any dirt is removed. Slice lemons into thin rounds, about ⅛" thick.
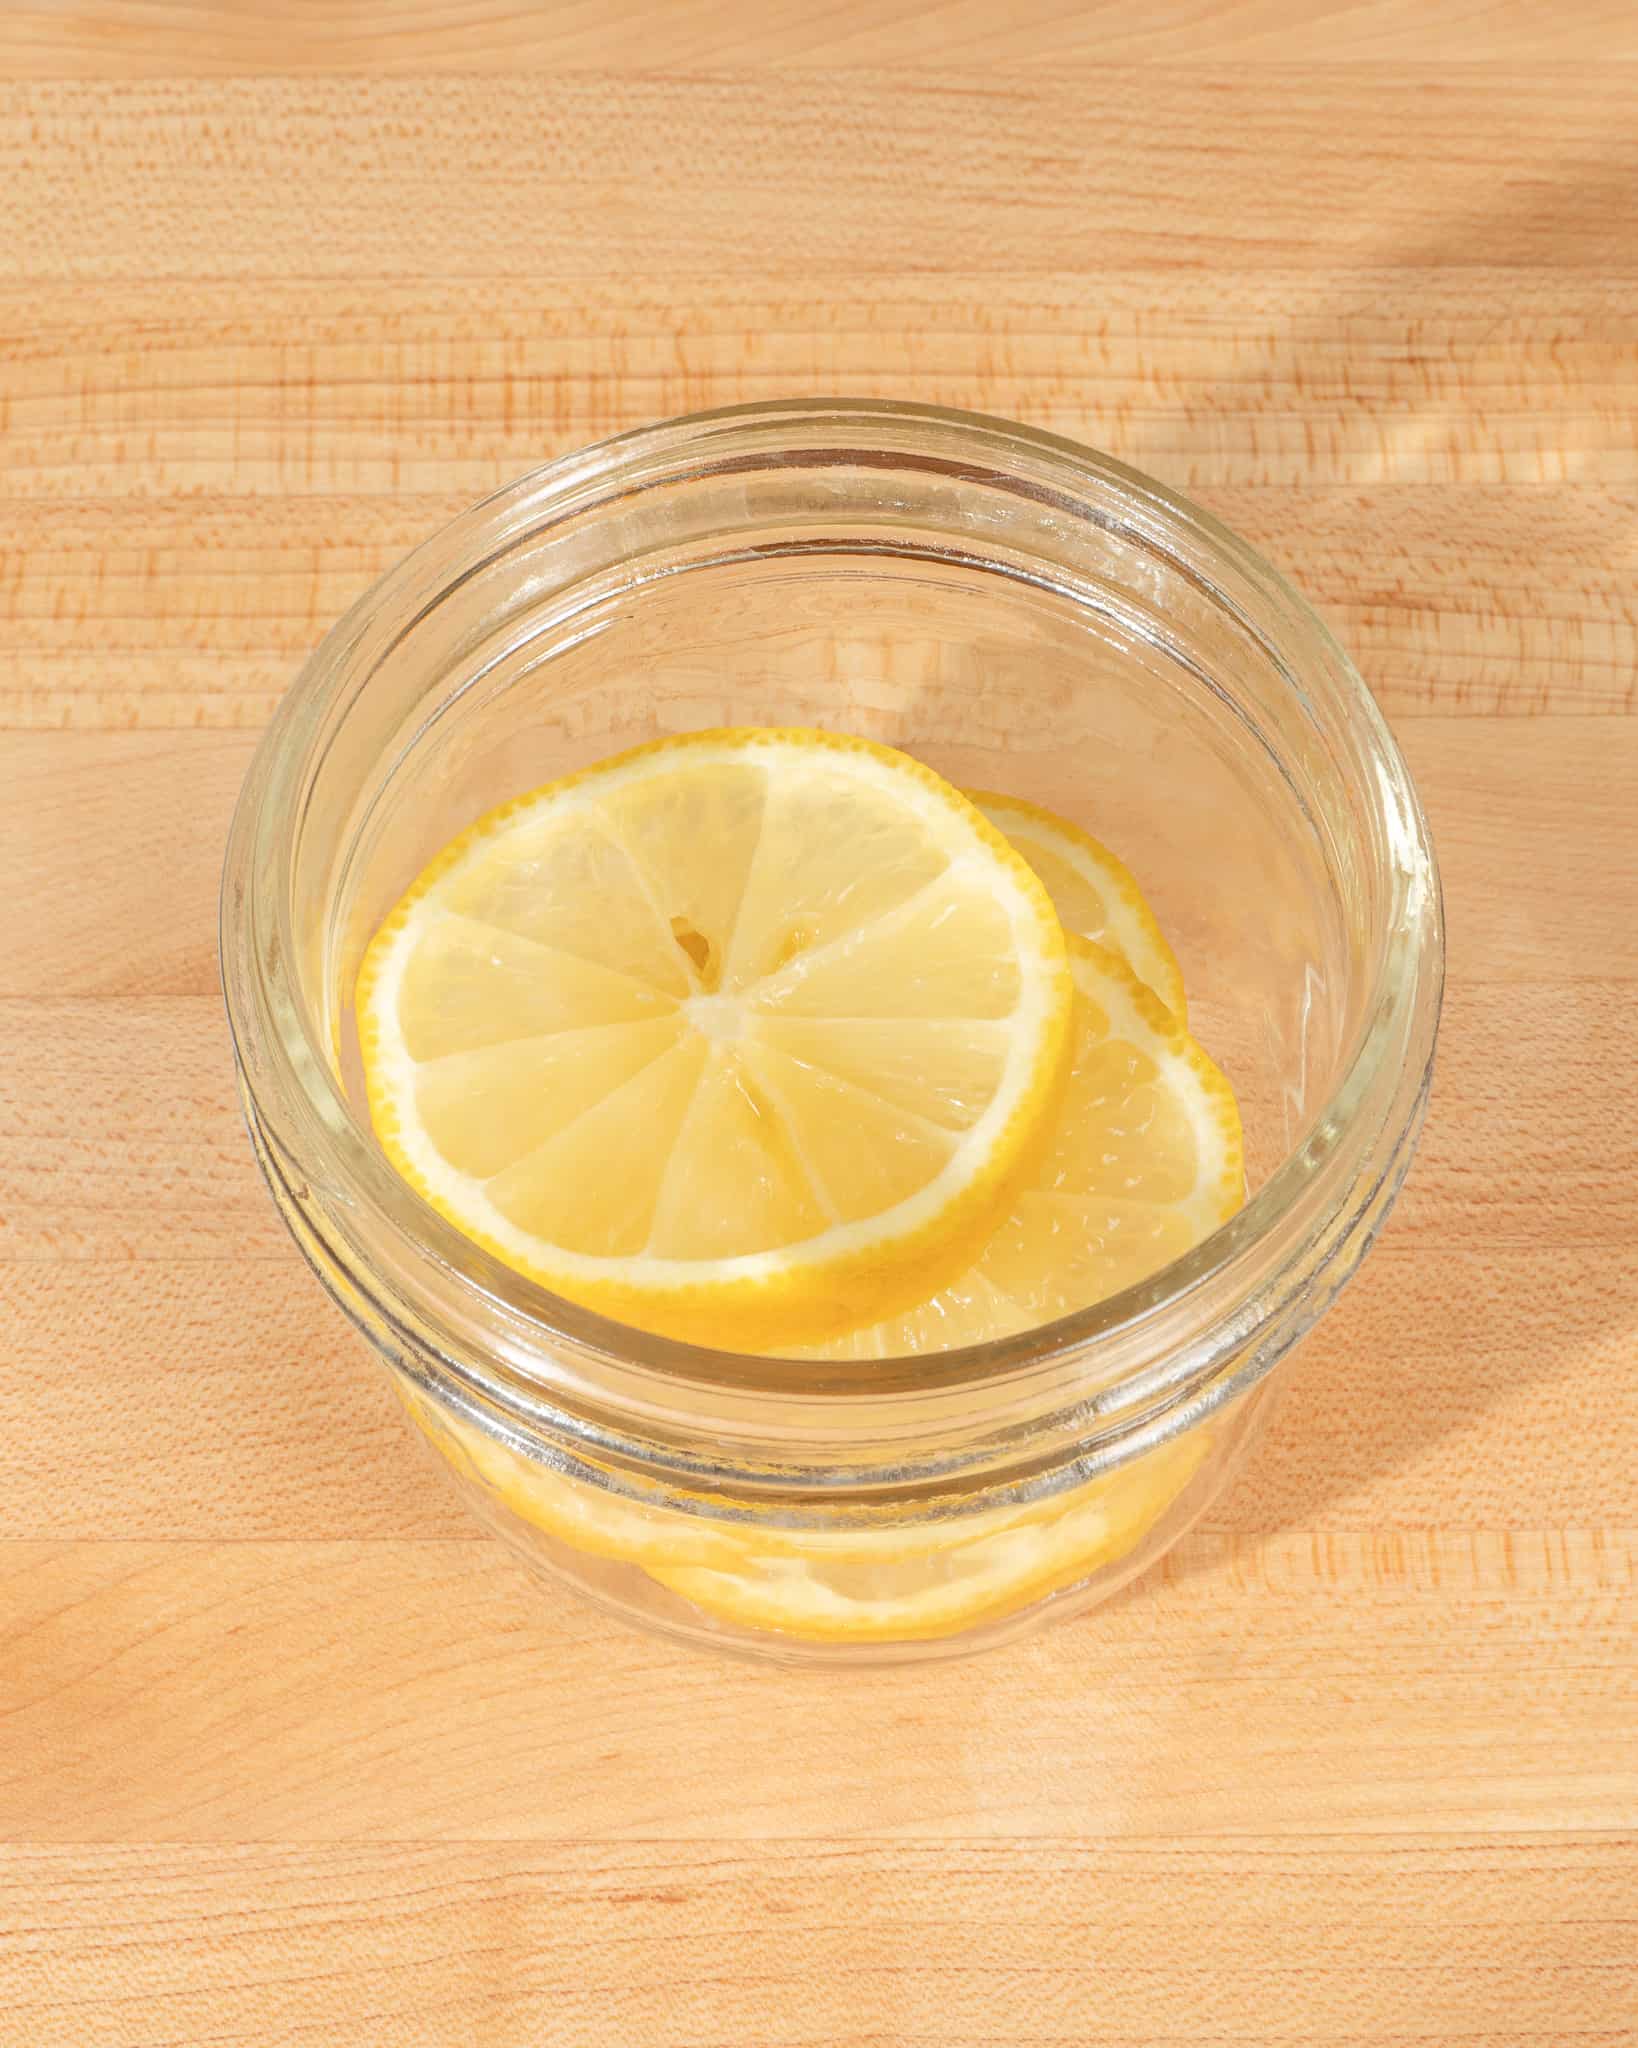
- Add the lemon slices to a sanitized mason jar, leaving 1" of headspace at the top.
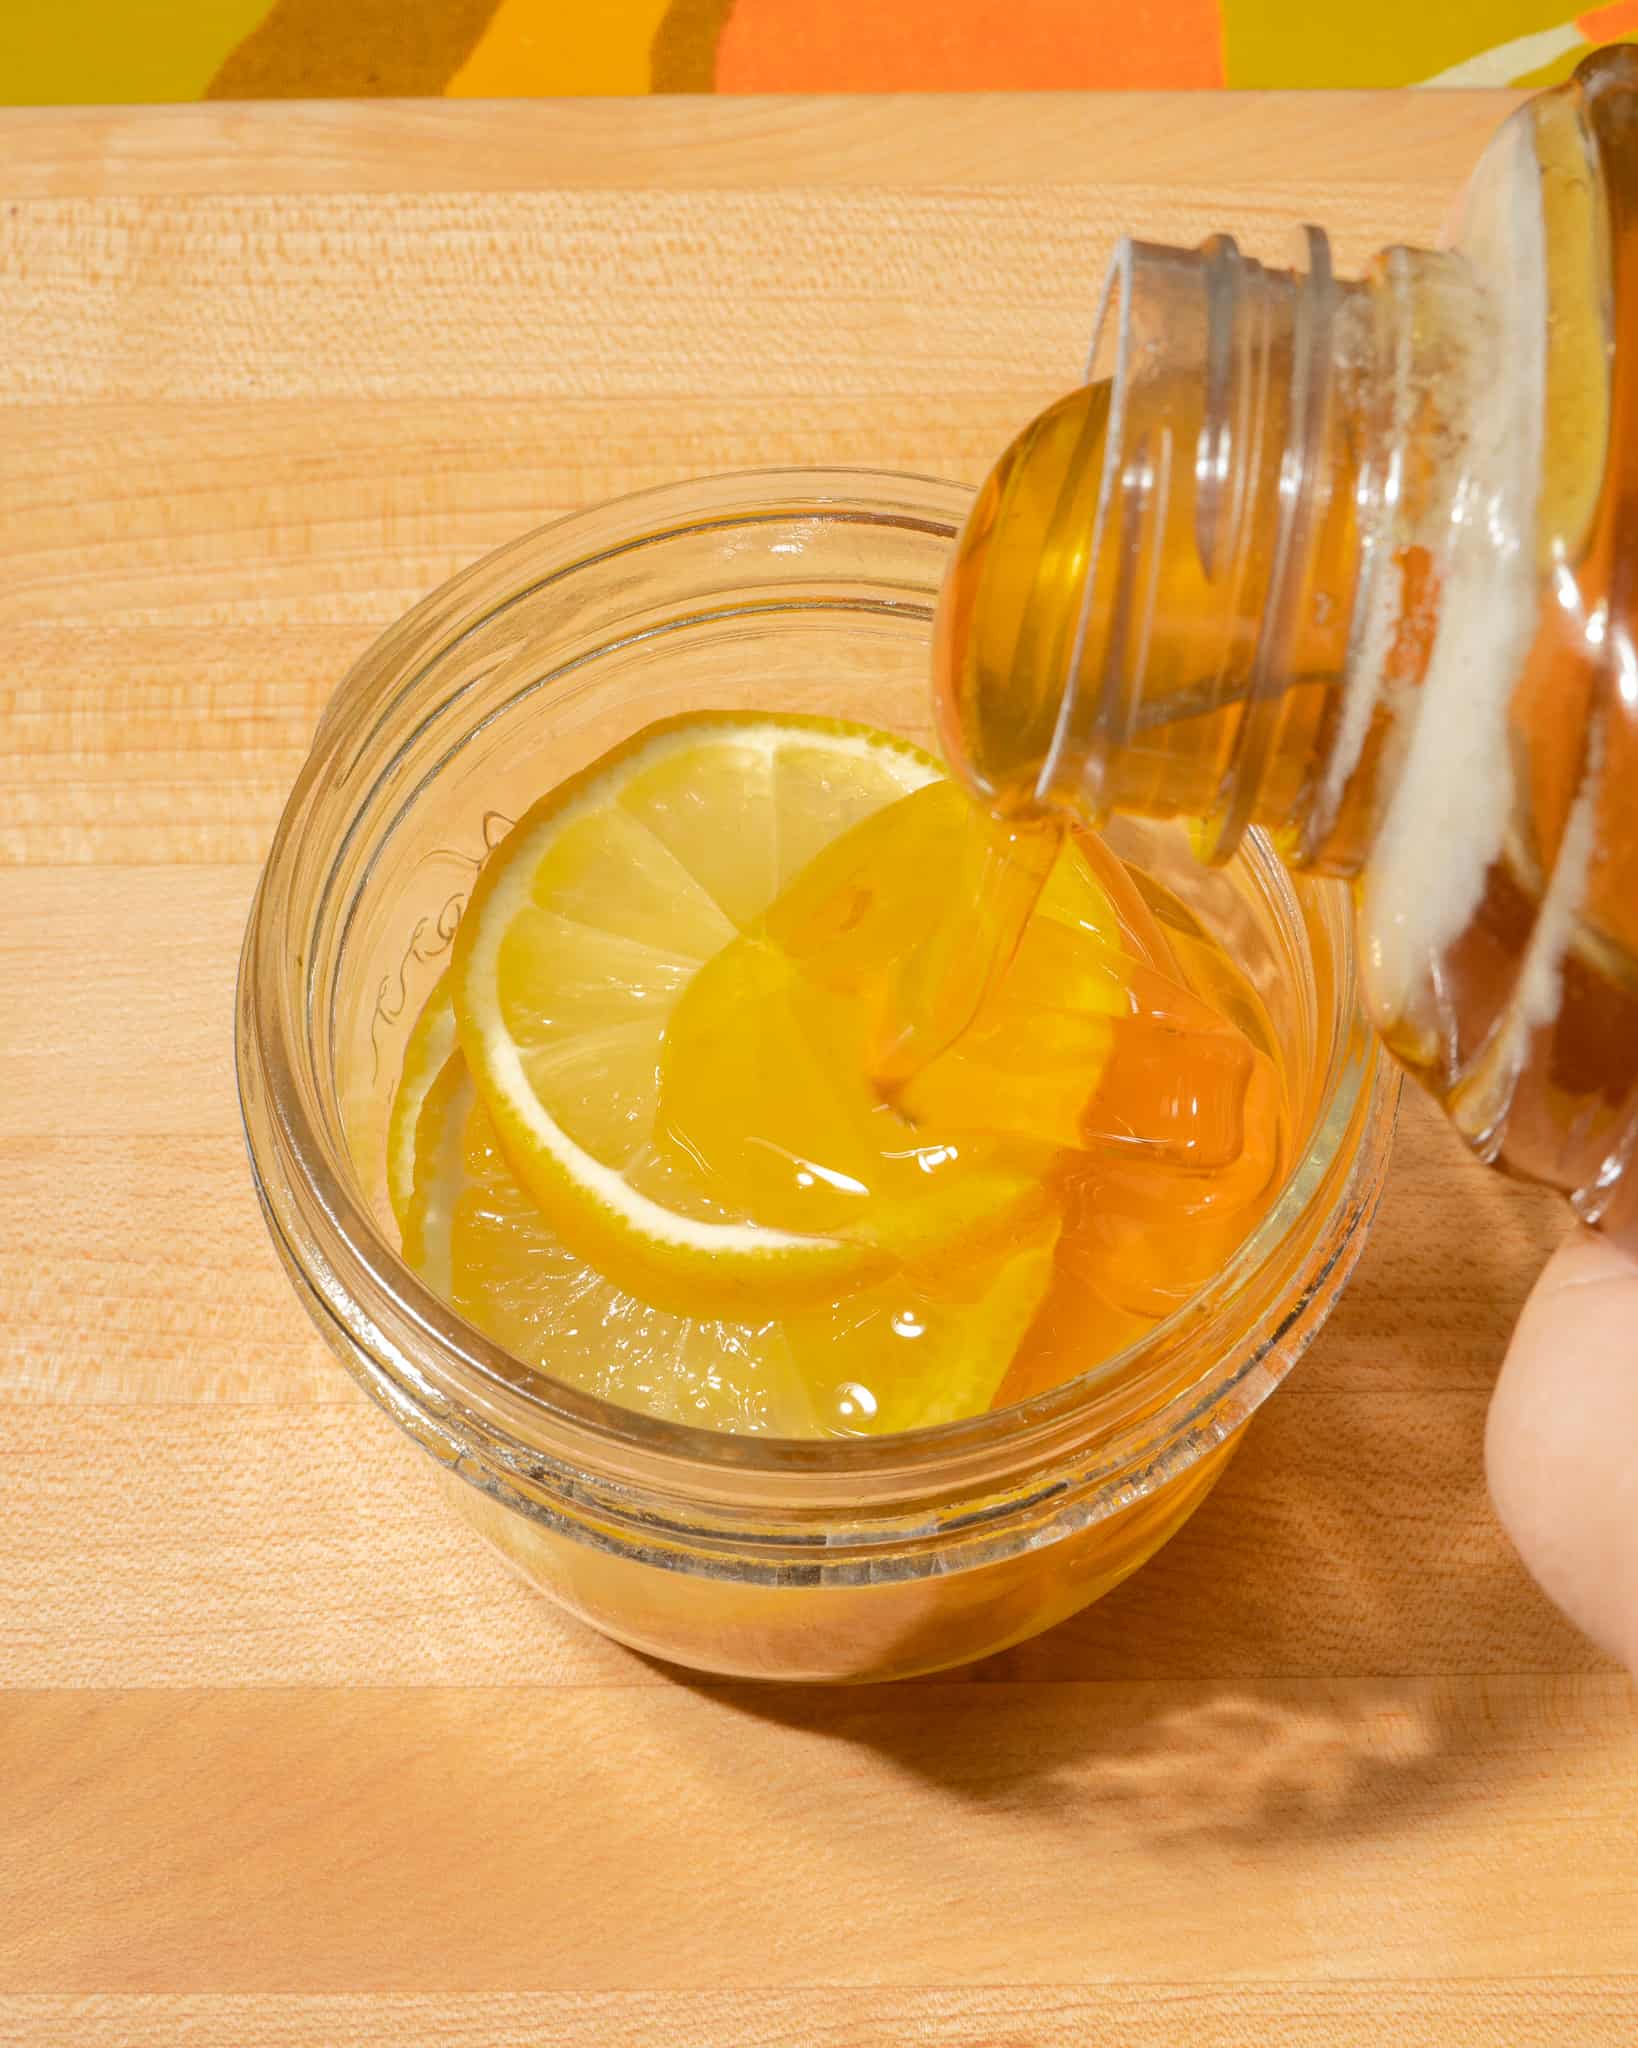
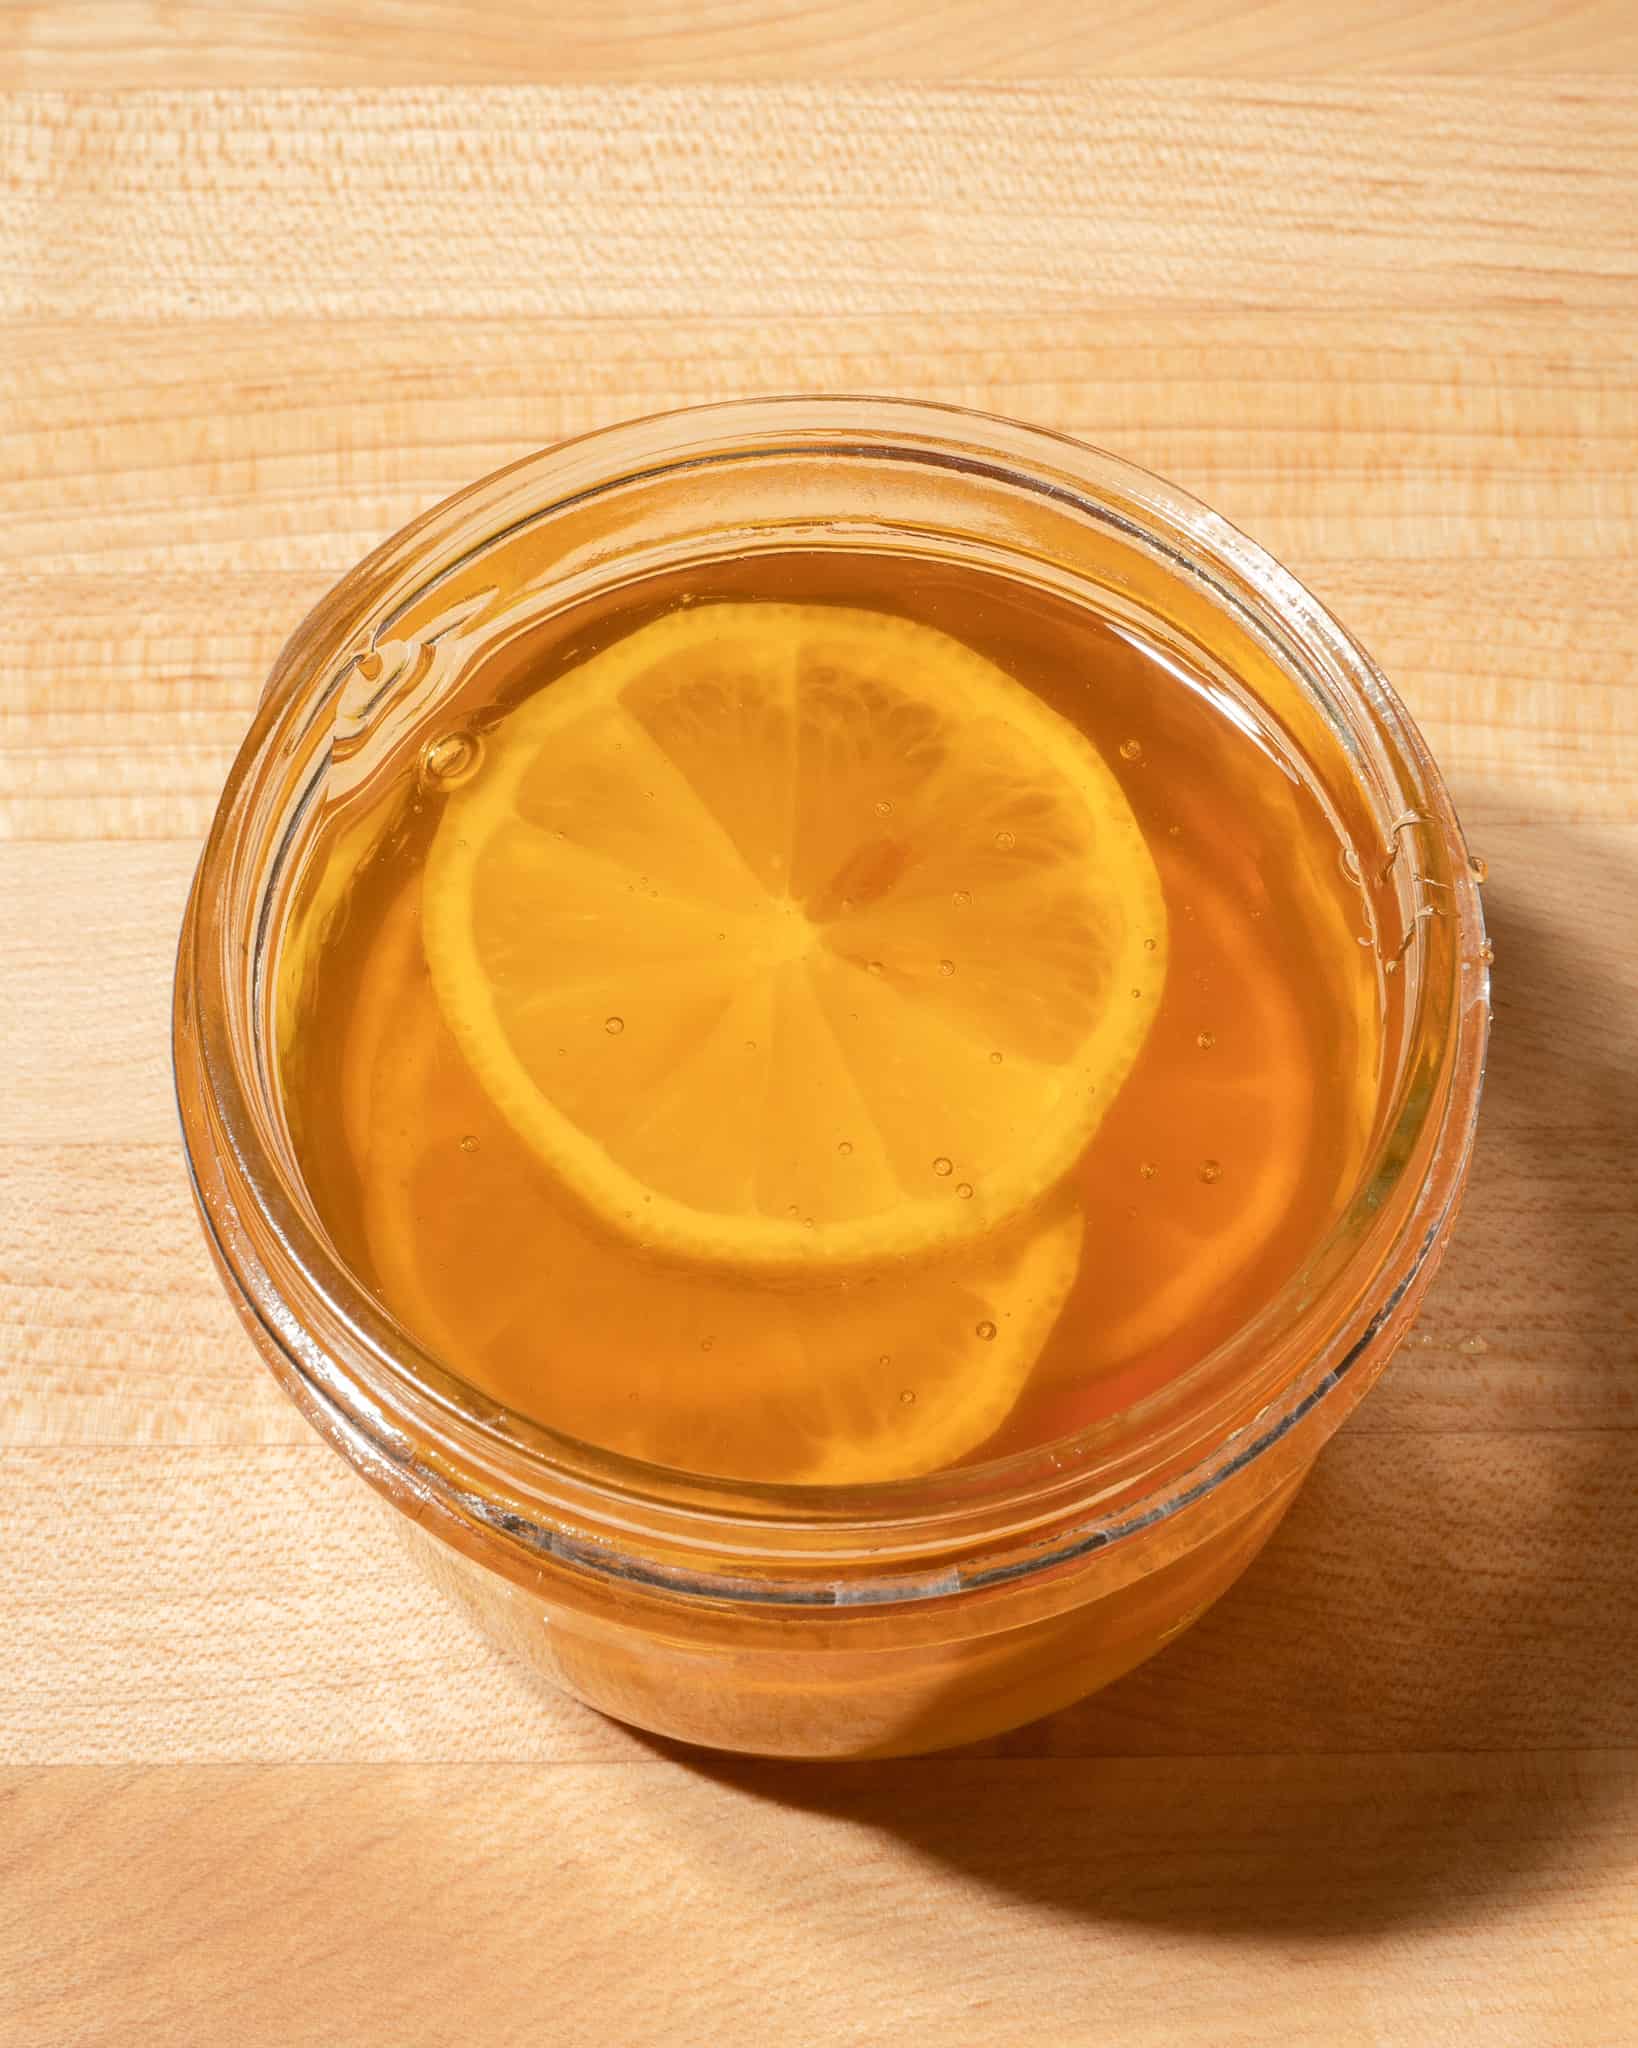
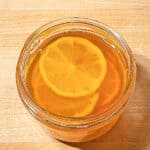
- Pour raw honey over the lemons until they are covered by an inch or two, depending on how much you want to use later in your recipe and how much space you've left at the top of your jar (don't fill it all up!).
- Seal the jar tightly with a lid and store it in a cool place for two weeks to let it ferment naturally.
- Store in a cool spot away from direct light for 4-5 days; stir once daily during this period. I'll be waiting through those first few days (you'll see some bubbling within that timeframe). Burp/open one end every day so that oxygen has access and excess grass can escape freely.
How to use Honey Lemon Slices
Use as a garnish for dishes: Try topping off your hot drinks, yogurt, or cereal with your lemon slices.
Use them in cocktails: The citrusy flavor of this lemon-infused honey will add another dimension to your next party.
Enjoy the lemon-infused honey in drinks: No matter what you're drinking (coffee, tea, or water), you can infuse it with this delicious honey to make it more interesting! Here are some recipes to help get you started:
- Lemon Honey Hot Toddy with Vodka
- Lemon Honey Old Fashioned
- Fruit Salad with Lemon Honey
- Rosemary Tea with Lemon Honey
How to Store Honey & Lemon Ferment
After you have made your lemon honey, you will need to store it. It would be best to store this at room temperature in a dry place. If you use a container with an airtight lid, ensure it is not in the refrigerator, as this can cause condensation, which would ruin your ferment. Before serving or eating any lemons from this ferment, sanitize any utensil used with hot water and soap after each use.

📖 Recipe

Fermented Lemons with Honey
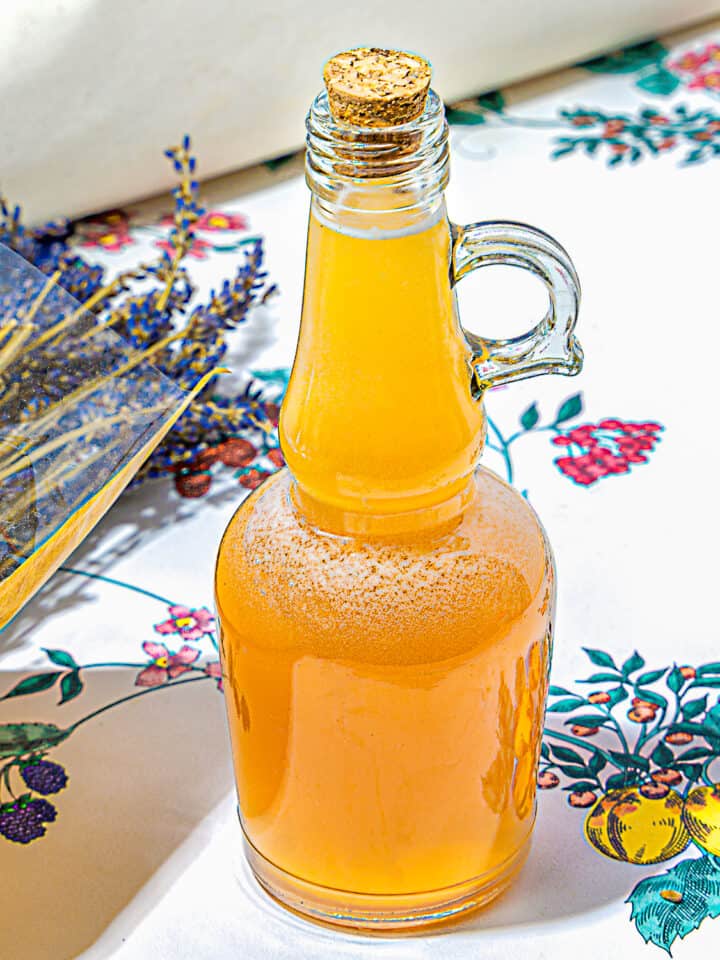
Fermented Honey Slices are made by sticking fresh lemons into a jar of raw honey and leaving it out on the counter to do its thing. It's a super easy, quick, and tasty honey ferment that tastes like sunshine.
Ingredients
- 1 cup raw honey
- 1 lemon, sliced
Instructions
Slice & Dice
- Thinly slice lemon and ginger, taking care not to cut your fingerWash the lemons thoroughly, making sure any dirt is removed. Slice lemons into thin rounds, about ⅛" thick.
Add the lemon slices to a sanitized mason jar, leaving 1" of headspace at the top
Pour raw honey over the lemon slices until they are covered by an inch or two, depending on how much you want to use later in your recipe and how much space you've left at the top of your jar (don't fill it all up!).
Seal the jar tightly with a lid and store it in a cool place for two weeks to let it ferment naturally.
Store in a cool spot away from direct light for 4-5 days; stir once daily during this period. I'll be waiting through those first few days (you'll see some bubbling within that timeframe). Burp/open one end every day so that oxygen has access and excess grass can escape freely.
Notes
Sterilization is necessary to prevent bacteria from growing in your creations during the boiling process.
Nutrition Information:
Yield:
16Serving Size:
½ ozAmount Per Serving: Calories: 66Total Fat: 0gSaturated Fat: 0gTrans Fat: 0gUnsaturated Fat: 0gCholesterol: 0mgSodium: 1mgCarbohydrates: 18gFiber: 0gSugar: 18gProtein: 0g



Comments
No Comments