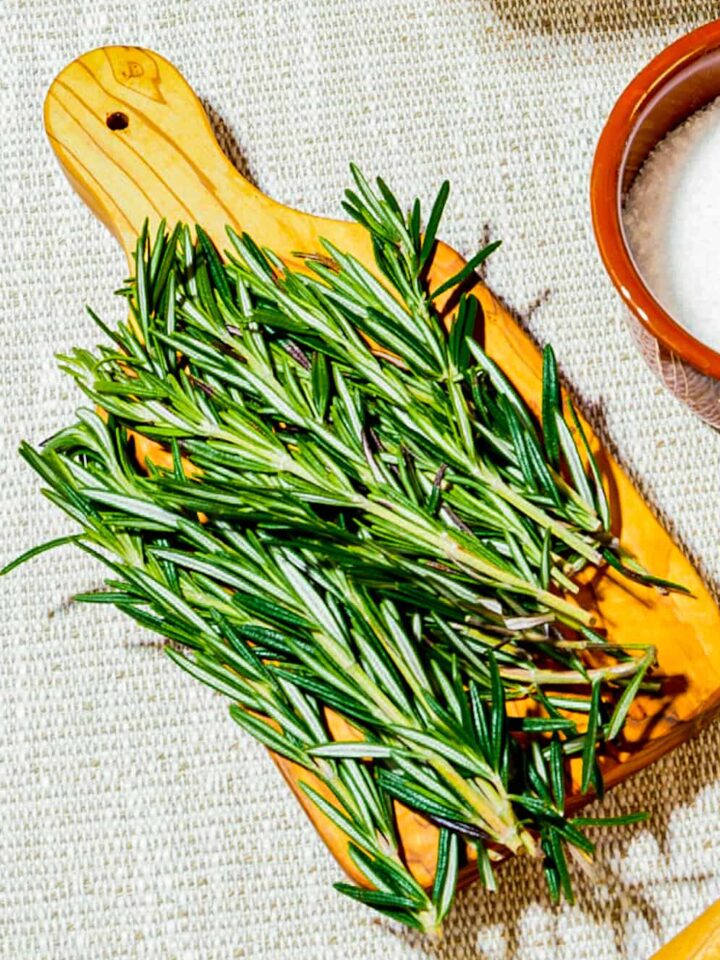
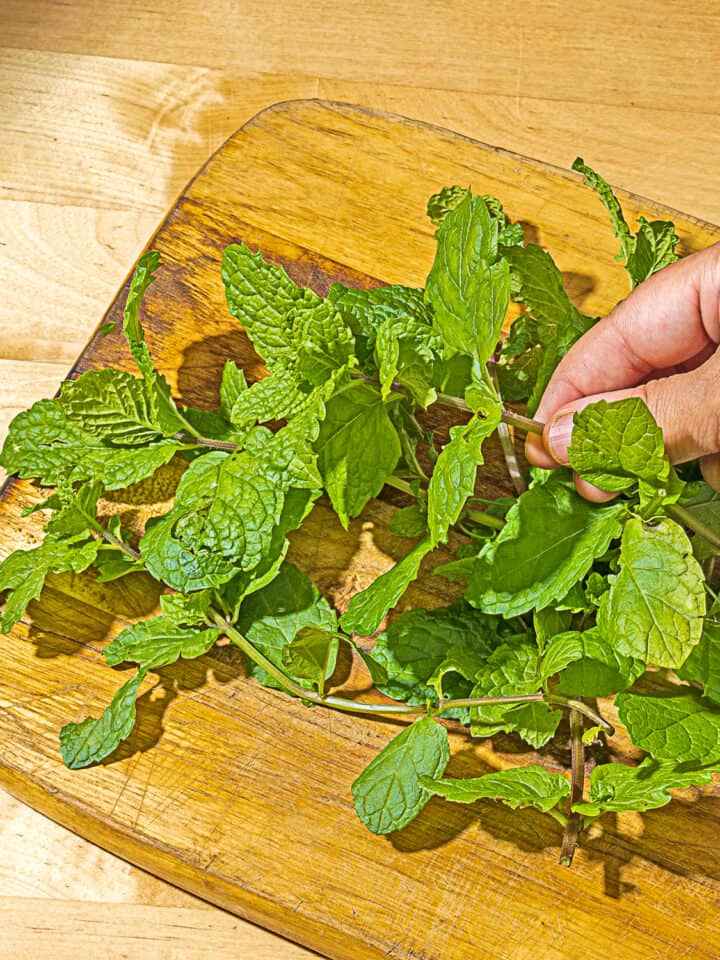
I'm a big fan of fresh herbs. There's nothing like whipping up a sauce or a salad and snipping some fresh basil to take it to the next level. It can be challenging to start a kitchen garden, and it is great to have your favorite herbs on hand when cooking.

Whether an indoor herb garden or your herbs are in your nearby garden beds, a growing place for culinary use is a great addition to a slow-living kitchen. Here is a guide on growing an indoor garden and some popular herbs to inspire your plant journey.
Choose the right Herb
Choosing which herbs to grow is the first step in starting an herb garden. Different herbs have different requirements for sunlight, water, and soil type. For example, some herbs are better suited for indoor growing, while others prefer partial shade or full sun. Other factors that should be considered include soil pH level, moisture retention capabilities of your soil, and drainage issues.
When choosing what to grow in your kitchen herb garden, keep these tips in mind:
- Choose the right spot for each type of herb you want to grow—some prefer partial shade, while others need total sun exposure
- Consider whether you wish container growing or outdoor garden gardening (if container gardening, then make sure your pots have enough drainage holes)
Pick a bright, sunny spot
- Choose a spot in your garden with at least 6 hours of direct sunlight daily. This can be hard, especially if you live in a northern climate and have only 4-6 months of the growing season.
- Pick a spot that's sheltered from wind and rain. Windy areas are usually the worst for freezing temperatures, so consider this when choosing your location.
- Protect sites where you don't want plants growing (like around trees) with fencing or trellis so they don't spread into those spots!
Amend your soil
- Soil should be moist but not wet.
- Your soil should be well-drained, so if you have clay soil or sandy loam that doesn't retain much moisture, amend it with compost and peat moss for drainage and add nutrients to the ground. You can also add manure if you want to balance out the nutrient content of your soil — but be warned that adding too much manure can cause problems like nitrogen toxicity in your plants!
- If needed, use lime (calcium) to raise the pH of acidic soils and sulfur (sulfur) to lower the pH of alkaline soils (the ideal pH range is 6-7).
Invest in quality pots and soil.
- Invest in quality pots and soil. When buying your pots, look for ones made from natural materials like terracotta, allowing the roots to breathe and help keep them healthy. Similarly, when you purchase soil, go for something organic with plenty of nutrients (like compost).
- Outdoor gardens may be less harsh on their environment—but they also have more potential damage from rain or wind—so make sure that whatever containers you choose are sturdy enough to withstand any weather conditions.
Let the water flow
Sticking your pointer finger into the soil is the best way to tell when plants need watering. Then, if it's dry, add some water. Make sure not to overwater your plants, though! It's easy to go overboard with a hose or watering can and drown them if you aren't careful. Ideally, you want the soil around the root ball moist but not wet for best results—you should see about 1 inch of water per week in well-drained soil (if you have clay or other heavy soils, less).
If you don't have an automatic drip system as I do, give 'em a good soak once every few days until they get established and start growing again—that should be plenty of water for now! Once spring rolls around and temperatures rise again (which brings us back full circle…), we'll discuss what else needs doing before summer arrives!
Remember to fertilize.
There are a few ways to fertilize your herbs. At the beginning of the season, use a balanced fertilizer, and at the end of the season, use an organic one. You can give them a little extra nutrient between those times with an herb-specific fertilizer like Miracle-Gro® Organic Herbs Fertilizer (available at most local hardware stores).
If your herbs look pale or yellow throughout the summer, it may be time to give them some extra love. This can happen if there's not enough sunlight reaching their leaves; when this happens, they'll need more nutrients than normal to produce food for themselves and their offspring (new plant growth).
It could also mean that they need to be over-watered. This would cause roots to be unable to absorb nutrients properly due to saturation issues inside the soil. This is where water sits too long without draining away correctly, preventing oxygen from reaching the root system where it needs it most.
Start small (indoors)
Start small. Stay moderate with your first herb garden. Start with one or two herbs, then add more as you become more experienced and confident in your skills.
Pick up some pots with drainage holes to prevent water from accumulating around the roots of the plants. Large pots are also easier to water because they allow you to check if all of the soil is moist before adding more water (more on this later).
Finally, ensure your pot has enough space for healthy growth; if there isn't enough air circulation around the plant's roots or leaves, they will rot and die!
For indoor growing success, choose a small plant that doesn't require much sunlight as this will help keep them happy indoors—so look for "windowbox" varieties! Consider how much fun they'll get throughout each day to plan ahead. Hence, they get enough light exposure without being fried alive by midday rays blasting through windows at noon each day during summertime when temperatures reach 120 degrees. Fahrenheit outside!
With help from this guide, you'll be growing and harvesting your own herbs in no time.
With help from this guide, you'll be growing and harvesting your own herbs in no time. You can grow herbs indoors or outdoors, in containers or beds. And when it comes time to harvest, you'll know just what to do with all that delicious fresh herb goodness!
Congratulations! I'm excited for you to start a beautiful, fragrant herb garden that will serve you for years. With some time and patience, your garden will grow into a lush source of fresh herbs that you can use to enhance every meal.


Comments
No Comments