Dehydrated apples can be a delicious and nourishing snack. They also add brilliantly to recipes like oatmeal, yogurt, or cookies. Here is a guide on how to dehydrate apples perfectly every time.

Good Apples for Drying

Gala
Why it works: Gala apples bring a perfect balance of sweetness and mild tartness. Their firm texture holds up well during the dehydration process, resulting in crispy chips that burst with flavor.
Granny Smith
Why it works: Known for their tartness, Granny Smith apples add a refreshing zing to the mix. When dehydrated, they maintain their distinctive taste, providing a delightful contrast to sweeter varieties.
Pink Lady
Why it works: Pink Lady apples offer a sweet and tangy profile. Their natural sweetness intensifies during dehydration, creating a harmonious blend of flavors in every bite.
Fuji
Why it works: Fujis are naturally sweet and crisp, making them a fantastic choice for dehydrated snacks. Their inherent juiciness transforms into concentrated sweetness, elevating the overall taste.
Honeycrisp
Why it works: As the name suggests, Honeycrisp apples are sweet with a honey-like flavor. Dehydrating enhances their natural sugars, resulting in a satisfyingly sweet and crispy treat.
Each apple variety contributes its unique character to the medley, ensuring a diverse and flavorful experience with every dehydrated bit.
Equipment

Dehydrator:
- Why you need it: The heart of the operation. A dehydrator ensures even drying, preserving the apples' nutrients and intensifying their flavor. It's a game-changer for consistent results.
Apple Peeler:
- Why you need it: Speed and efficiency meet in an apple peeler. It not only saves time but also ensures uniform apple slices, promoting even drying and a visually appealing end product.
Cookie Sheet:
- Why you need it: A flat surface for arranging your apple slices before dehydrating. It facilitates easy transfer to the dehydrator trays and ensures the apples maintain their shape during the drying process.
Oven:
- Why you need it: When using an oven instead of a dehydrator, cracking the oven door allows moisture to escape. This is essential for dehydrating, preventing condensation, and ensuring crispy apple chips.
Ziplock Bag:
- Why you need it: Airtight storage is key to maintaining the crunchiness of your dehydrated apples. Store them in a resealable bag to keep them fresh and ready for snacking.
Vacuum Sealer:
- Why you need it: For long-term storage, a vacuum sealer removes air from the packaging. Sealing your dried apple rings helps conserve space, extending the shelf life of your dehydrated apples and preserving their flavor and texture.
Spice it up

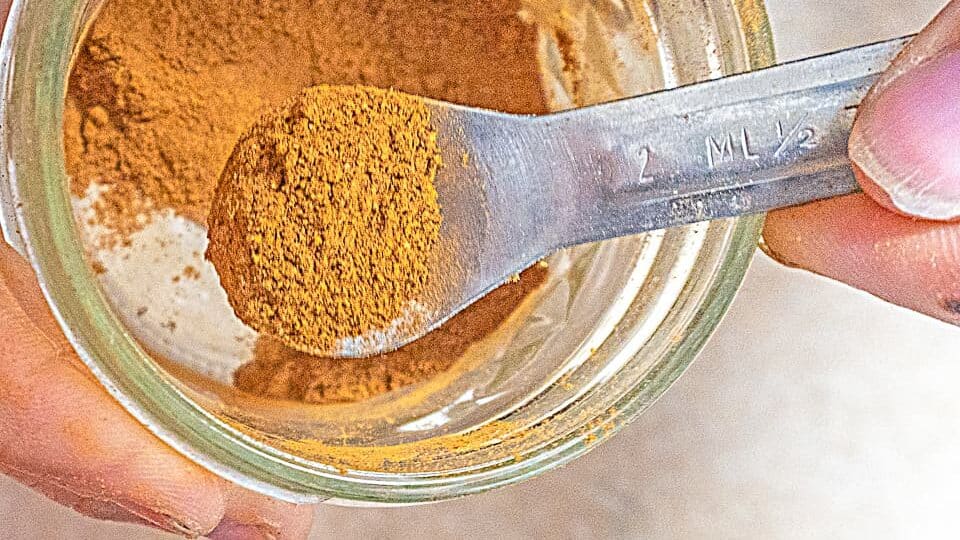
Pumpkin Pie Spice
Why it works: A warm blend of cinnamon, nutmeg, ginger, and cloves, pumpkin pie spice adds a cozy, autumnal touch to your dried apples. It complements the natural sweetness of the fruit with a hint of spice.
Cardamon
Why it works: Known for its unique, citrusy, and slightly sweet flavor, cardamom brings an exotic twist to dehydrated apples. It adds depth and complexity, turning a simple snack into a gourmet delight.
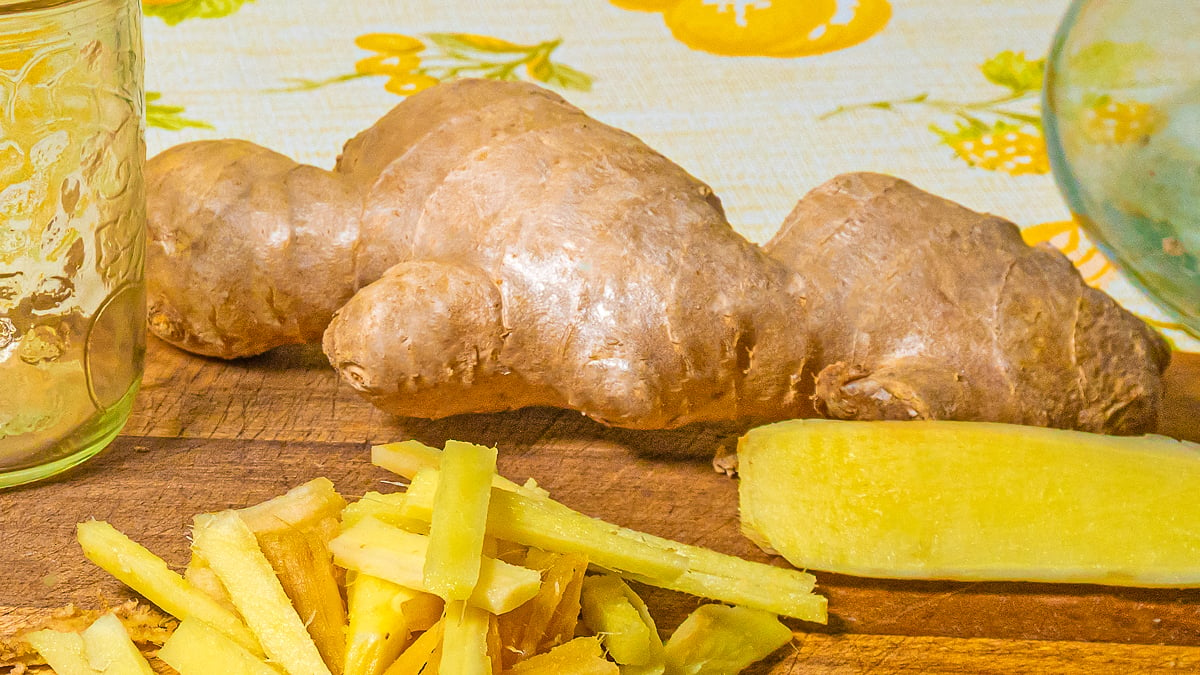
Ginger

Why it works: Whether ground or freshly grated, ginger lends a subtle heat and zing to dried apples. It pairs exceptionally well with the natural sweetness, creating a harmonious balance of flavors.
Feel free to experiment with these spices or combine them to create your signature flavor blend. The options are as diverse as your taste buds desire!
Wash Your Apples
Apples can have a variety of substances on their skin, from dirt and dust to pesticide residues and a preservation wax layer. A good rinse is required even if the apples appear clean.
Here's how to clean your apples:
- Fill a large bowl or clean sink with cold water.
- Submerge your apples in the water.
- Gently scrub the apples with your hands or a soft brush, careful not to bruise the fruit.
- Rinse under running water to remove any residues from the skin.
Once your apples are clean and dry, they're ready for the preparation.
Core The Apples
To properly dehydrate apples and achieve a pleasant end product, it's essential to remove the core, which contains seeds and tough fibrous parts. This will make it easier to eat your dried apples and also result in a more visually appealing snack.
Follow these steps to core your apples:
Place the apple on a cutting board, stem side up. Position the core over the apple's center, ensuring it's aligned with the core.Press down firmly and twist the corer through the apple until it reaches the cutting board.
Pull the corer straight up, bringing the core with it. Check the apple to ensure the entire core has been removed. If needed, trim any remaining bits with a knife.
You can also core your apples using a knife if you don't have a corer. Cut around the core in a square or circular shape and remove it. Once your apples are cored, they're ready to be cut in your desired manner before dehydrating.
Cut The Apples
Cutting your apples appropriately is a crucial and creative part of the dehydration process. Depending on how you plan to use your dehydrated apples, you can cut them differently:
- Half apples: Cutting your apples in half will give you chunkier dehydrated pieces, which are great for eating as a crisp and hearty snack.
- Slices: Cutting your apples into slices, on the other hand, creates thinner, flexible pieces perfect for baking or adding to oatmeal, yogurt, and granola, among others.
If Halving:
Stand the apple upright on your cutting board. With a sharp knife, carefully cut the apple down the middle. Ensure the cut is perpendicular to the bottom of the apple to avoid cutting into the core.
If Slicing:
After coring, lay the apple on its side. With a mandoline slicer or sharp knife, cut the apple into slices, from top to bottom. You can choose the thickness per your preference, but generally, slices about ¼-inch thick work well for dehydrating.
Whether you go for halves or slices, cutting your apples appropriately will result in a better-dehydrated product.
Instructions
You may choose to dehydrate your apples in a dehydrator, an oven, or even an air fryer; each method has its upsides and downsides.

Arrange Apples: Lay your apple halves or slices in a single layer on your dehydrator trays or cooling racks if you're using an oven. Make sure the slices or halves don't overlap, as this could result in uneven drying.
Add Flavors: If you want to spice up your apples, now is the time. Sprinkle some cinnamon or any other favorite spices directly onto the apples. The heat from the dehydrating process will activate the oils in these spices, leaving your apples with a rich, aromatic flavor.
Dehydration Process: Place the trays into your dehydrator or oven and set the appropriate temperature. The ideal temperature for dehydrating apples is around 130 to 140°F (54 to 60°C). If you're using a dehydrator, this process should take about 12 to 24 hours, depending on the thickness of your apple slices or halves. If you're using an oven, expect a shorter time, between 1 to 2 hours.
Check for Doneness: You'll know your apples are done when they are flexible but dry to the touch. There should be no visible moisture or moisture felt when you tear a piece in half.
Preservation
Citric acid and lemon juice are both frequently used in food preservation for their acidic properties that can create an environment unsuitable for bacterial growth. This acidic environment increased the shelf-life and overall quality of preserved foods[
Lemon juice is also a commonly used natural acidulant in home food preservation.
Similarly, citric acid is regularly used in food preservation and other products. As it naturally occurs in citrus fruits such as lemons and limes, it is commonly used to maintain pH levels, add sour flavor, and preserve foods.
Moreover, lemon or lime can prevent fruits like apples, bananas, and avocados from turning brown, known as enzymatic browning. It can be particularly useful when dehydrating fruits. Soaking fruits in lemon juice and water before dehydration can help to retain color and extend shelf-life
In the context of dehydrating apples, using either citric acid or lemon juice helps prevent the browning of the apple slices. It maintains the vibrant color of the apples, enhancing the end product's visual appeal and preserving their color during and after the dehydration process.
Thus, including these acids is more than preserving and maintaining an appetizing appearance for dehydrated fruits.
Storage
After dehydration, store your dried apples in an airtight container to prevent moisture. They can last up to a year.
Use of Dehydrated Apples
Try using dehydrated apples in various sweet treats, like granola, trail mix, or cookies.
📖 Recipe

How to Dehydrate Apples
These dried apple slices make a wonderful snack you can munch on in short time.
Ingredients
- 3 medium-sized apples
- Cinnamon (Optional)
- Lemon juice (Optional)
Instructions
- Prep the Apples: Wash your apples thoroughly. Core and slice the apples thinly, about ⅛ inch or thinner, but keep the skin. The thinner you slice them, the faster they will dry.
- Optional: To prevent the apple slices from turning brown, soak them in a mixture of lemon juice and 1 cup of water.
- Arrange the slices on dehydrator trays. Please make sure they are in a single layer and do not overlap.
- Optional: You can sprinkle some cinnamon over the apple slices.
- Set your dehydrator to 135°F (about 57°C).
- The drying time will vary depending on your slicer thickness and the exact temperature of your dehydrator. Start checking at 6 hours. However, it can take up to 10 hours for some apple slices.
- The apple slices are done when they are leathery to crisp, but it's mostly a matter of personal preference.
- When done, let the slices cool to room temperature completely before storing them in an airtight container.
Maintaining a constant temperature and adequate air circulation is key to successful drying.
Servings: 3 apples yield approximately 2 to 3 cups of dried apple slices.
Nutrition Information:
Yield:
12Serving Size:
1Amount Per Serving: Calories: 24Total Fat: 0gSaturated Fat: 0gTrans Fat: 0gUnsaturated Fat: 0gCholesterol: 0mgSodium: 1mgCarbohydrates: 6gFiber: 1gSugar: 5gProtein: 0g


Comments
No Comments