
Do you want to know how to dehydrate food? Here's how to dehydrate just about anything. A great resource for preppers, homesteaders, or those looking to preserve your garden bounty or reduce food waste in your home! Hopefully, you'll find this guide a helpful place to start.

Drying foods is a viable way to preserve many foods, and many children of all ages enjoy snacking on dried fruits and vegetables even if they dislike them fresh. But not all foods work well for drying.
Here are some tips and ideas on what foods you can dry and what to expect regarding look and texture (dried foods are not necessarily as "pretty" as canned foods!).
Getting into home food preservation?
Dehydrating food to preserve food is a great way to enjoy healthy snacks or make flavorful meals. However, some foods are better to keep by dehydration than others. This article discusses the best and worst foods to dehydrate at home, giving tips on how to get the most out of your dehydrator and maximize the flavor of your food.
Drying foods is a viable way to preserve many foods, and many children of all ages enjoy snacking on dried fruits and vegetables even if they dislike them fresh. But not all foods work well for drying. Here are some tips and ideas on what foods you can dry and what to expect regarding look and texture (dried foods are not necessarily as "pretty" as canned foods!).
A Brief Definition Of Dehydration

The process of dehydration is the process of removing moisture from food to extend its shelf life. It can be done in an oven, dehydrator, or sun. Dehydrated foods are lightweight and convenient for camping, backpacking, travel, and emergency preparedness. They are also highly nutritious as the water has been removed, but many essential vitamins and minerals remain intact.
Food Preservation
If you are interested in other ways to preserve food, check out my guides for pickling, freezing, and canning or this article that shares an overview of all three.
Benefits Of Dehydration

Cost Savings
One of the main benefits of dehydrating foods is that it can save you money by allowing you to buy produce when it's on sale or in season, then preserve it at home without using expensive preservation methods like freezing or canning.
Increased Nutrients
Because dehydration removes most of the water from food, the nutrients become concentrated, which means more nutrition per bite!
Shelf Life
If you like camping, dehydrated food is excellent to take along - it's lightweight, doesn't require refrigeration, and is high in nutrition. You can also store and include it in emergency kits for yourself and your family. If the power goes out during a storm or due to some other act of nature, you can still have fruit, vegetables, and meats available for a meal.
How Does Dehydration Work?
Dehydrating or drying out food is one of the oldest food preservations and has become popular recently. The idea is to preserve the food by removing as much moisture or water content as possible. Not only will this keep fruits, vegetables, and even meats from spoiling, but it also eliminates a lot of the weight and size of each piece of food. In addition, this allows you to store your harvest more easily. Dehydrated foods can make great snacks independently, but you can rehydrate quickly by soaking them in juice, broth, or water.
When To Dehydrate Food
Choosing the right produce is essential as you prepare to use your dehydrator. Produce is best if it's bought/harvested and put in the dehydrator on the same day.
Also, make sure it's at the peak of ripeness and flavor--don't be tempted to buy overripe or underripe foods just because they are on sale or you've overlooked some produce from your garden and it's gotten too ripe.
The Benefits Of Dried Food

Economical
Have you considered the price of jerky and dried fruits and vegetables in your grocery or health food store? You might have had to look twice - they're expensive. They are particularly pricey if they are healthful and free of preservatives, artificial colors, and flavors. Drying your own wholesome food is much less costly, especially if you dry foods in season and/or on sale.
Also, bringing some of your dried foods on car trips and vacations can save you a lot of money on snacks and meals.
Convenience
There's no doubt that dried foods are convenient. They are convenient if you have children and need to grab a quick snack on the way. What if one of your kids needs to go to the ER, and you don't know how long you'll sit there? You and the other kids will need something to eat. It's nice to have snacks in the car, even running errands. In fact, you can have a take-along bag with dried foods that you always take with you in the car.
Dried food is also convenient when you can't get to the store, such as during a snowstorm. Having dried produce for soups, stews, and other recipes is also lovely. For example, you can serve a fresh-tasting raspberry sauce with your holiday roasts without spending much money on store-bought berries.
Healthful
Dried foods retain most nutrients, except those that depend on the presence of water. All of the fiber is intact in dried foods. And it's chemical-free, devoid of preservatives and artificial flavors and colors. Think of being able to reap the nutritional benefits of, for example, raspberries in December when you feel a cold coming on.
Easy and Inexpensive to Prepare
Dried food is relatively simple to make. You don't need to fuss over sterilizing jars, using a pressure canner, and spending money on added ingredients like sugar and vinegar. Instead, you dry the food - it's simple and close to its natural state.
The Disadvantages Of Dry Foods
When consumed in excess, some dried can have a more harmful effect on the digestive system due to consuming too much fiber.
How To Start Dehydrating Food

Dehydrators stand out as the most effective means of drying food. But if you can't afford one, don't have a place to store one, or are just working with a small amount of food to dry, the oven, the air, and the sun can still work.
Generalized articles and recipes are fine, but sometimes you need some basic information that breaks a process down into doable steps. It's also helpful to learn more than one technique for drying foods. So here's a step-by-step guide for drying foods, focusing on fruits and vegetables. Read through these steps before embarking on your venture.
Step 1: Obtain Your Produce
Your produce may come from your garden, a friend/neighbor's garden, a local farmers' market, a grocery store, etc. The main thing is that you have fresh produce at its peak. Even though you'll be drying it, you don't want shriveled, dried-up produce. However, somewhat overripe fruit can still be dried if you use it to make fruit leather.
Look for fruits and vegetables that do not have soft or mushy spots, and avoid hard, green, underripe fruit. The food does not have to look perfect; it must be ripe and decay-free.
Step 2: Prepare Your Produce - Wash and Blanch
Please obtain your produce and dry it on the same day. First, give it a good wash and pat it dry Then, bring a pot of water to a boil, and close by, fill a large bowl or pot with ice water. You will also need a slotted spoon or steamer basket to get the produce out of the water quickly. You are preparing to blanch your produce - dip it quickly in boiling water and then plunge it into cold water to stop the cooking.
Sources recommend not skipping this step because it will make all the difference in your foods' quality and shelf life. This is because blanching kills bacteria that cause decay. The exceptions to the blanching rule are mushrooms, which should just be wiped clean, and bananas, which will soften too much in boiling water.
Blanch vegetables for 3-5 minutes and fruits for 2-3 minutes.
Step 3: Pat Dry
After blanching, place your produce on cookie sheets covered with several layers of paper towels, and then pat it dry.
Step 4: Slice and Cut Food
Slice fruits like strawberries, bananas, and pineapples into thin slices. Cut corn kernels off the cob. Halve stone fruits and remove the stones (pits).
Step 5: Place Food in Dehydrator (if you don't have one, skip to Step 6)
Place the food in the trays with space between the pieces with no overlaps. Turn the dehydrator to the setting recommended by the manufacturer.
Step 6: Place Food on Cloth-Covered Screens
Using old window screens (as long as they are lead-free) is fine, and so is stapling screening to a plain wood frame. Cover with a cloth, place food on the cloth (close together but not touching), and cover with another cloth. Place outside in a dry, shady area and bring in at night. Repeat for several days.
Methods Of Dehydrating Food
Dehydrating works so well to preserve a large variety of food because yeast and bacteria need water to grow. By removing all the water from the food, there's no way for these microorganisms to thrive, thus leaving your food well preserved.
You can dry food in the hot sun, in the oven, or with a dehydrator. The stove is a great place to get started, while a dehydrator will give you better control and lower settings that result in tastier dried foods.
Of course, you won't need it if you invest in an electric dehydrator. These appliances are less expensive than you think and easy to order from Amazon or even pick up at your local small appliance store. I recommend you start with one of the smaller models. They are less expensive and take up much less space when not in use. Then, play around and start drying some fruits and vegetables. Get comfortable with the process, and more importantly, see how you can help your family enjoy the dry food.
Oven Drying

One of the easiest methods for drying foods is to use the oven. But first, you'll need some parchment paper, sheet pans, and food. You can also use silicone liners or even pizza screens if you have those.
You'll be drying your food by heating using a very low temperature. This will ensure that any water content has the chance to evaporate, minimizing bacterial growth.
The optimum temperature for drying food is 140F. This can be hard to hold even on the lowest setting in your oven. Before dehydrating in the oven, I recommend investing in an oven thermometer. It will help you determine the actual temperature in your oven. It will also allow you to turn the heat on and off to stay at or close to the ideal dehydrating temperature.
Air and Sun Drying
These days, one of the reasons people turn to dry foods is because it seems simpler - you don't need the equipment and add ingredients necessary for canning, and even a dehydrator is optional. Instead, you can use nature's basics - sunlight and air - to dry foods.
But, of course, while drying is less involved than canning in terms of equipment, you'll still need some items and techniques to employ. So here are some tips for sun or air-drying your foods.
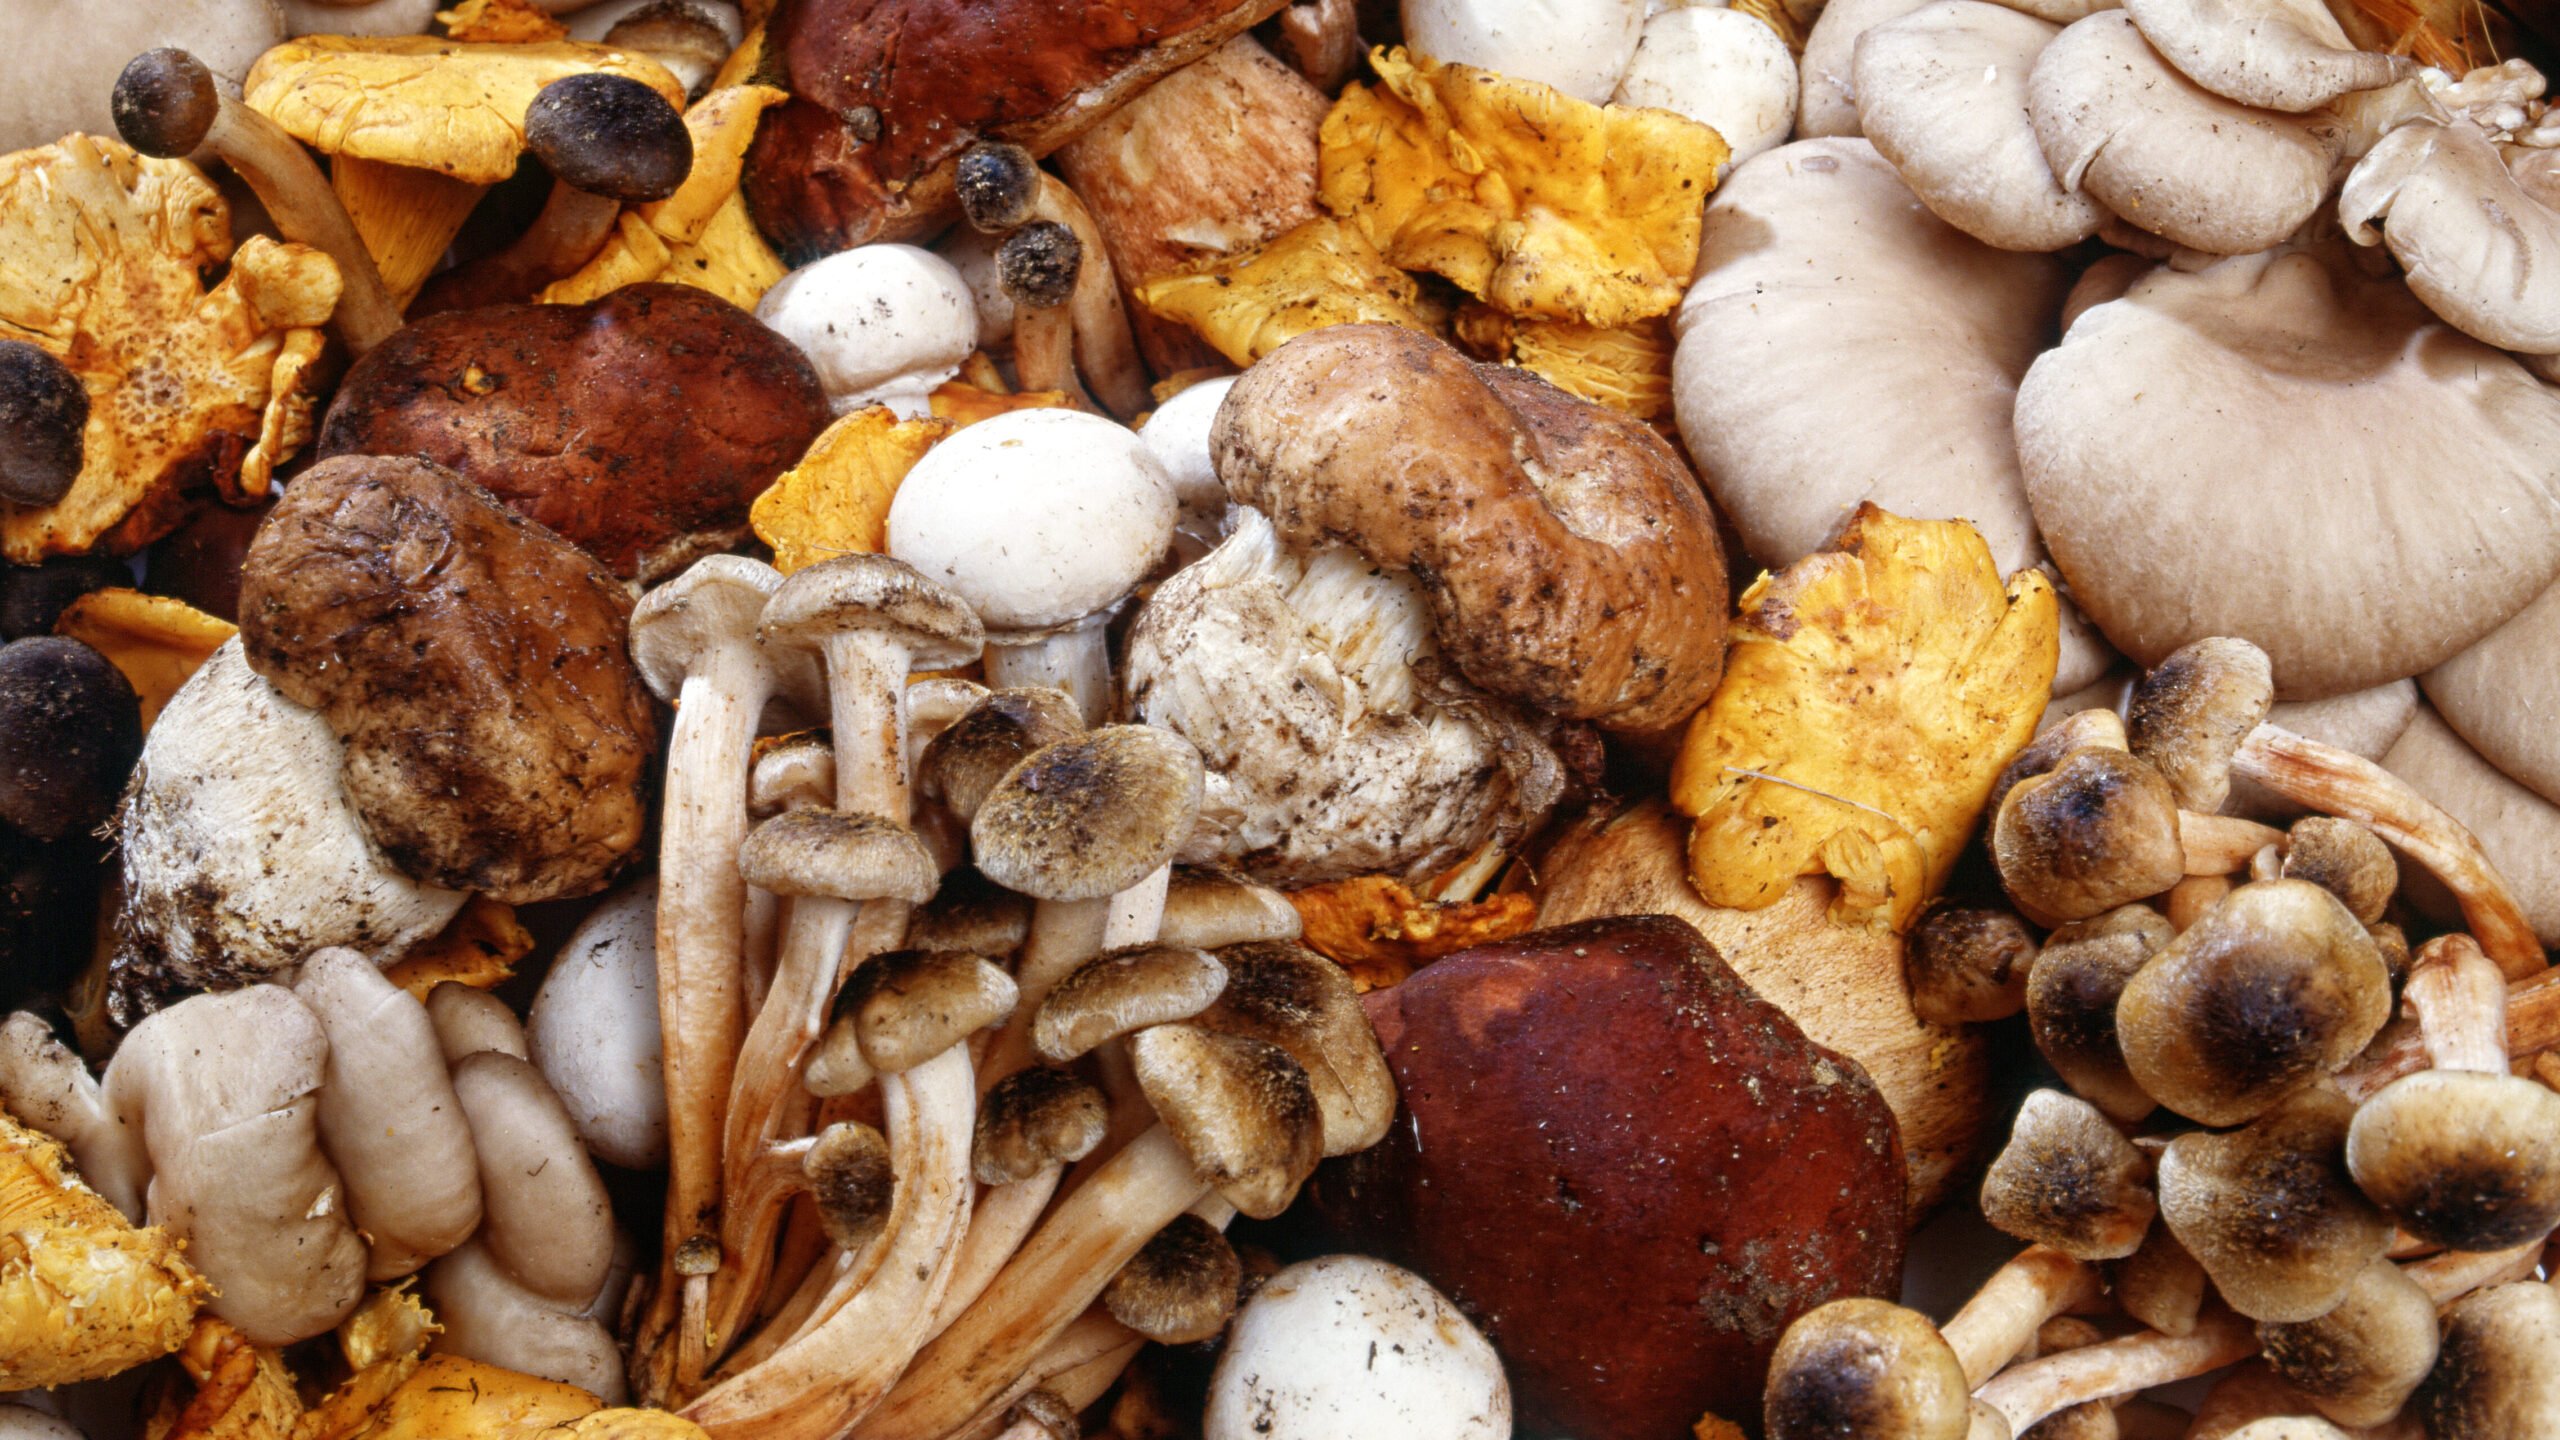
Some foods do fine in the sunlight - grapes and mushrooms, for instance - but others do not. Green beans, for example, lose their color if they are dried in the sun, but they do great in dry shade.
Equipment Needed

Using an Electric Dehydrator
- dehydrator trays
- timer
- heating element
- fans
- humidity
Oven Drying
- sheet trays
- parchment paper
Air Drying
- Screens - You can use clean, old window screens or make your own with a simple wood frame and plastic screening stapled to the frame. (Plastic resists rust, but you can use metal screening if it does not contain lead.)
- Cloths and/or paper towels - You need these to cover the screens so that the food has a clean, dry surface on which to be placed, and you'll need cloths or paper towels to cover the food lightly while it dries.
Storing dried food
- seal vacuum sealer
- oxygen absorber
- glass jar: mason jars
Dehydrating Cooked Foods
Dehydrating Fruits
An alternative method is to use a dehydrator to do it for you. Wash, dry, and peel the fruits, if required, before slicing them into smaller pieces. You can spray them with bottled lemon juice to prevent them from browning. You can eat them alone or puree them to make fruit leather. Here are some fruits that do well when dried.
- Apples
- Bananas
- Peaches
- Blueberries
- Oranges, lemons, and other citrus fruits
- Kale Chips
- Avocados
Strawberries
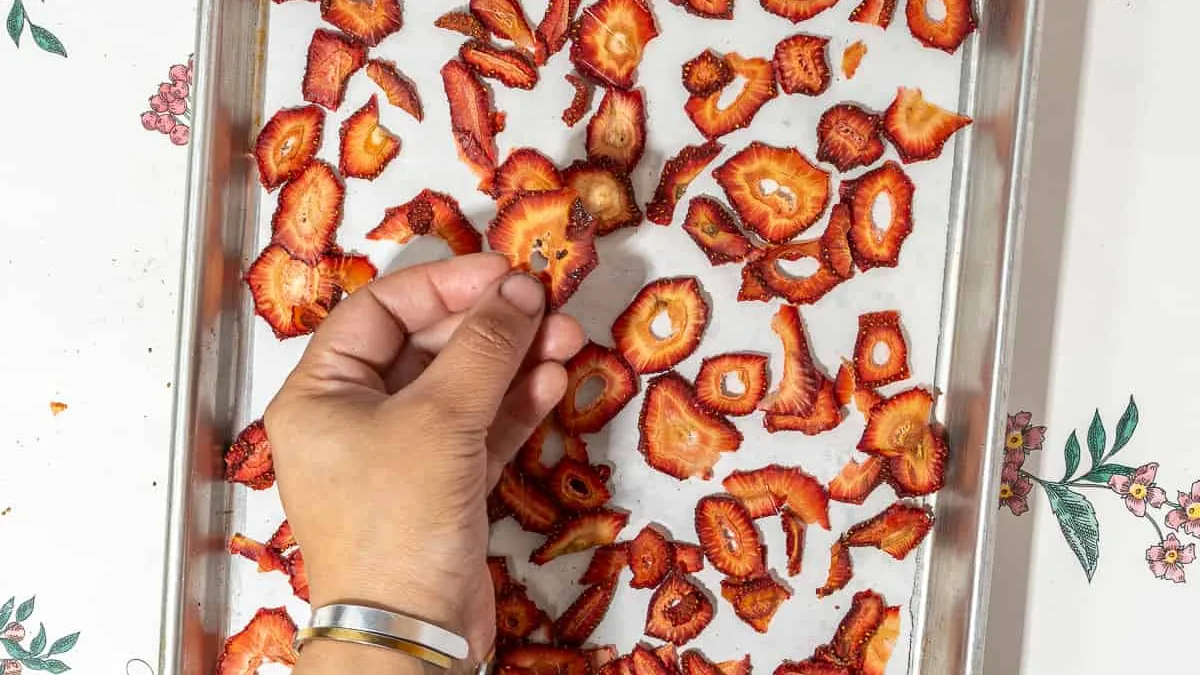
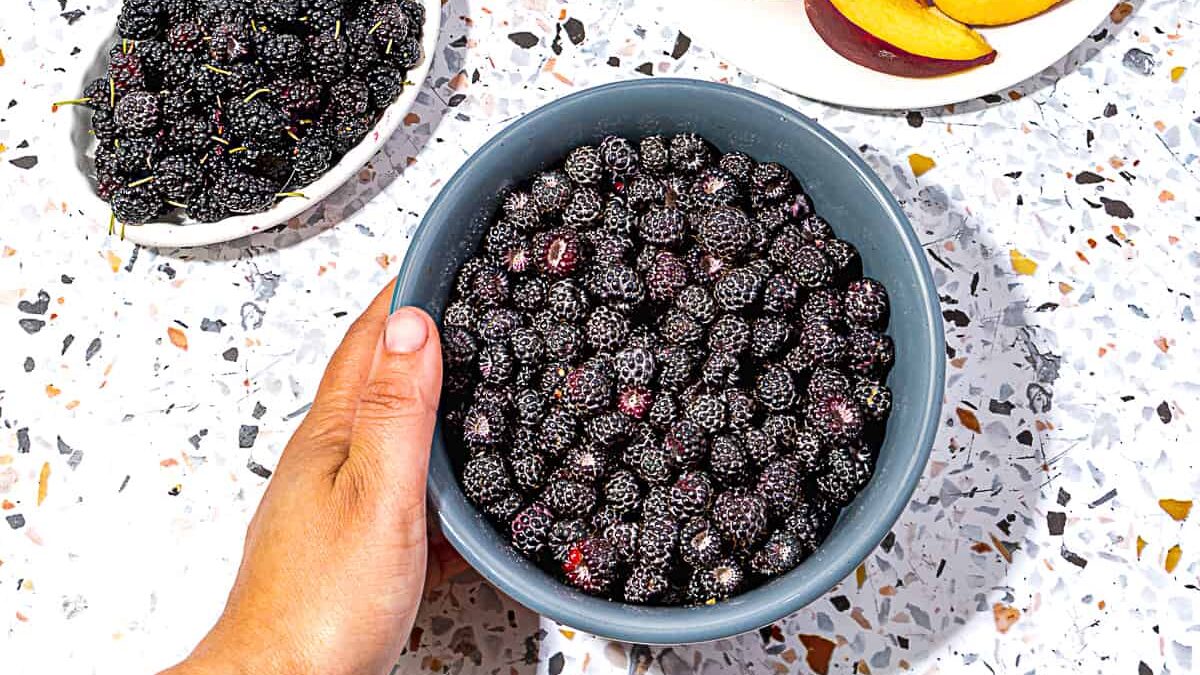
Dried strawberries have a stiff texture that makes them fun to suck on to soften them. You can also slice them first. Strawberries can be dried on screen trays like grapes.
Grapes
Make your raisins! Breaking the skin first helps the drying process along. You can dry these in the sun, laying them on a paper towel-covered screen and covering them lightly with a cloth or paper towel. They should be ready in about five days but might dry before that. Freeze before storing.
Dehydrating Vegetables
Green Beans
Did you know you can dry these? The best way is to steam them for about 5 minutes and then string them with a sturdy needle and upholstery thread. Hang the strings outside in a shady area during the day (the sun causes the beans to lose color), then bring them inside at night. Or hang them in an attic. They will get leathery after a few days and can be used in soups. Before storing, heat the beans in a 175-degree oven for half an hour - this kills any insects and eggs hiding there, waiting to come out in storage.
Mushrooms

Don't wash mushrooms first; wipe them off. String them on a thread like the beans, indoors or out, but mushrooms can be hung in the sun. They will become crisp and brittle after a few days, so if you prefer them leathery, you should watch them closely. They should also be heated before storage to kill insect eggs.
Tomatoes
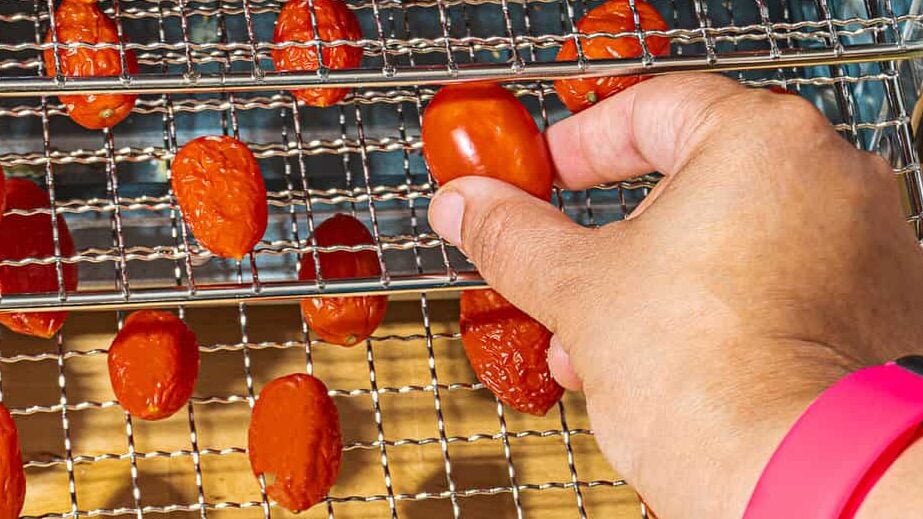
Italian or Roma tomatoes work best for drying for long term storage due to their lower moisture content. Slice them lengthwise, scoop out the seeds, and air-dry them. You can string or lay them on several thicknesses of paper towel on a screen. Turn them as they dry if they are lying on the net. They are thoroughly dried when they are leathery and relatively pliable. As with all dried fruits, place tomatoes in the freezer to kill bugs.
- Garlic
- Peas
- Corn
- Sweet Potatoes
Dehydrating Meat
Sources recommend drying about 3 pounds at a time when using a dehydrator. If you are using beef, the best cuts for jerky are pieces like London broil, flank steak, brisket, or skirt steak. The leaner, the better.
- Turkey
- Ground beef
- Chicken
Beef Jerky
Making jerky is a great way to take advantage of a meat sale at your local store or preserve wild game from a hunter in your family. Even if you don't have a dehydrator, you can make jerky at home.
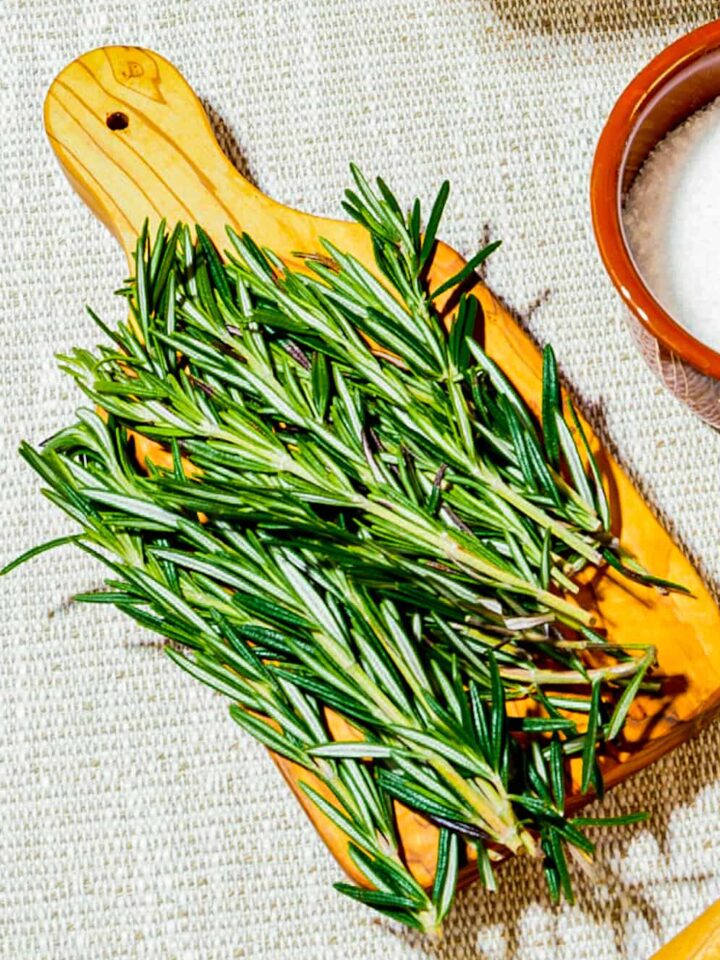
Dried Herbs

Note: Dairy products like butter are not great for drying due to the presence of fats that could go rancid if not properly preserved.
What can you do with dried food?
Eat them! They are convenient as take-along snacks when running errands or camping. But you can use the recipes for what you can do with your dried foods.
The easy base for a dip
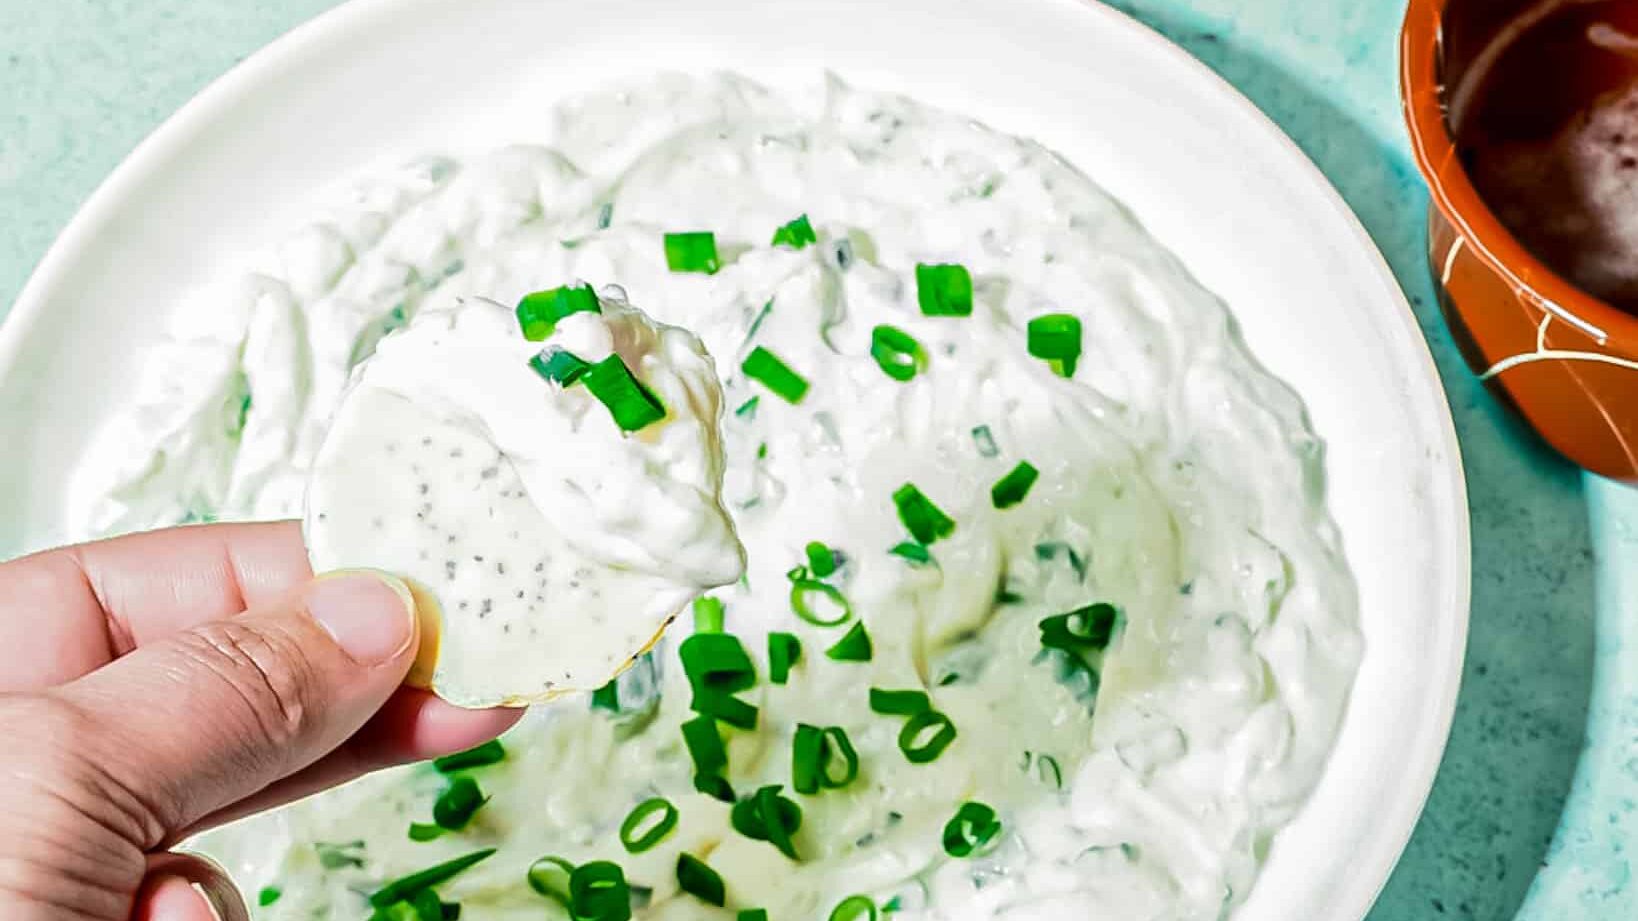
Take your dried onions pieces, add some onion or garlic powder, green onions, and sour cream, and you've got an easy party dip.
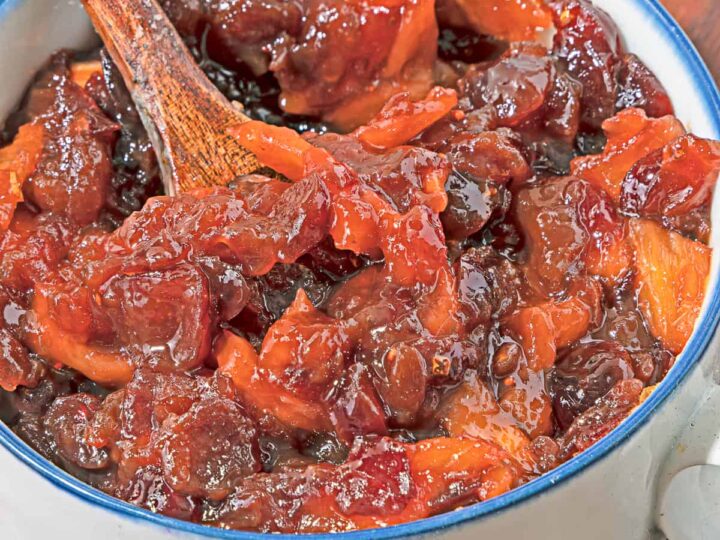
Cranberry Sauce

You can make a nice cranberry sauce using dried cranberries.
Yogurt and Oatmeal Topping
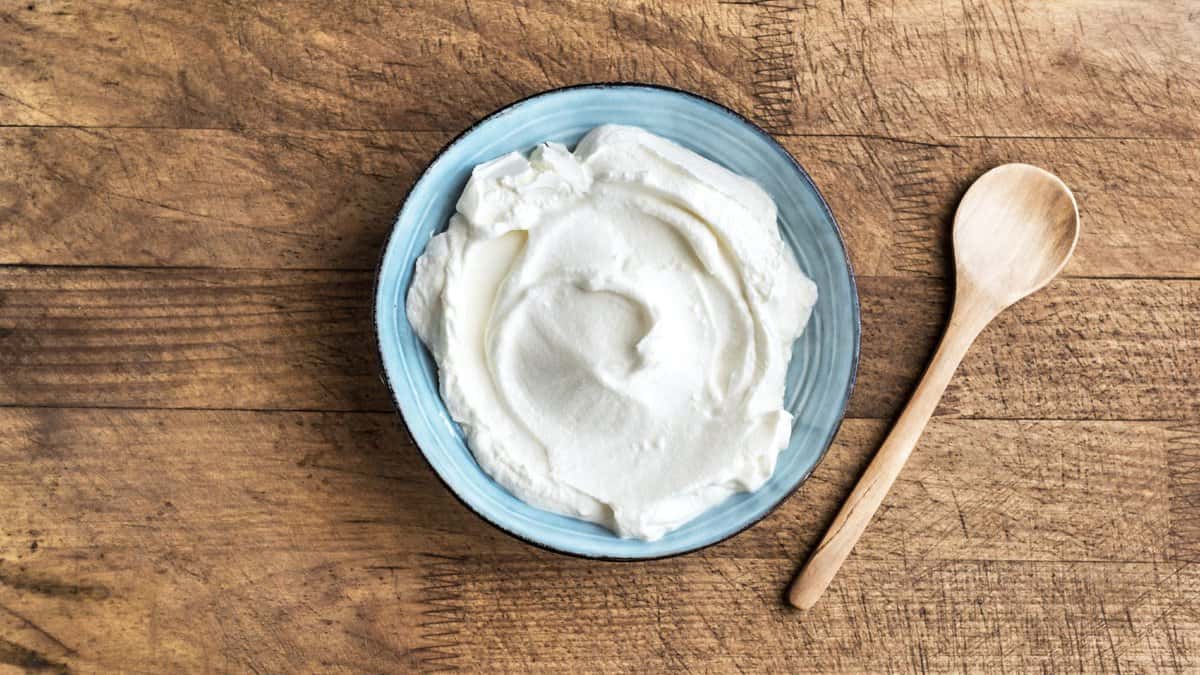
Dried fruits like grapes, plums, and apricots make excellent plain or vanilla yogurt toppings and can add flavor to your morning oatmeal.
Soup

Dried vegetables shine when added to stews and soups. Dried green beans, tomatoes, peas, corn, etc., can be added to simmering broth or water and plump up when the liquid is absorbed. For a quicker cooking time, heat a kettle of boiling water and, pour it over your vegetables, soak them for several hours ahead of time. Then, dump the rehydrated vegetables and their soaking liquid into the stewpot.
Easy Dehydrator Recipes
Drying food is a great way to preserve your seasonal harvest. Here are some recipes/tutorials to get you started.
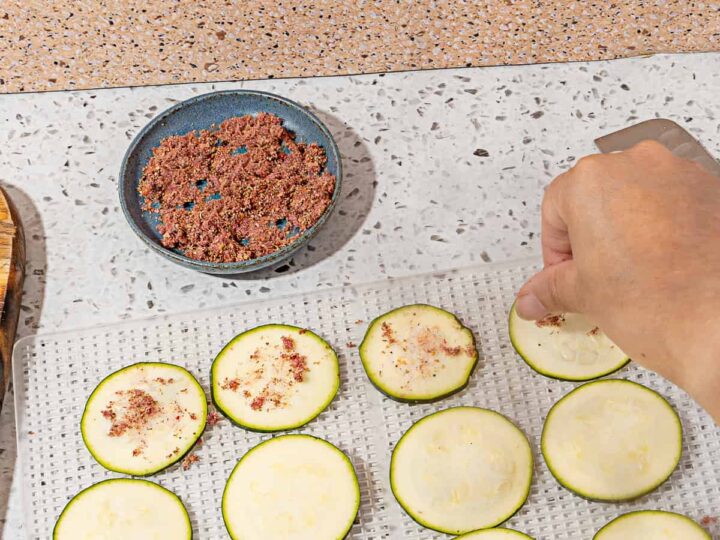
Learn how to dehydrate zucchini slices in the dehydrator or oven.
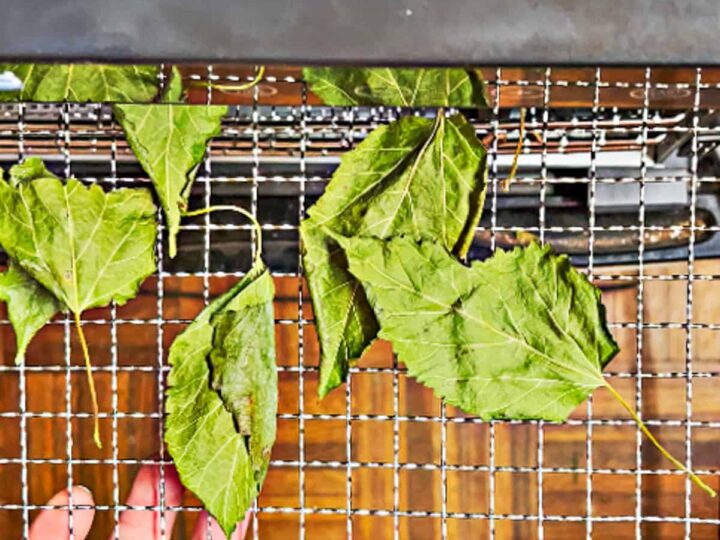
Learn how to dehydrate mulberry leaves for free green tea!

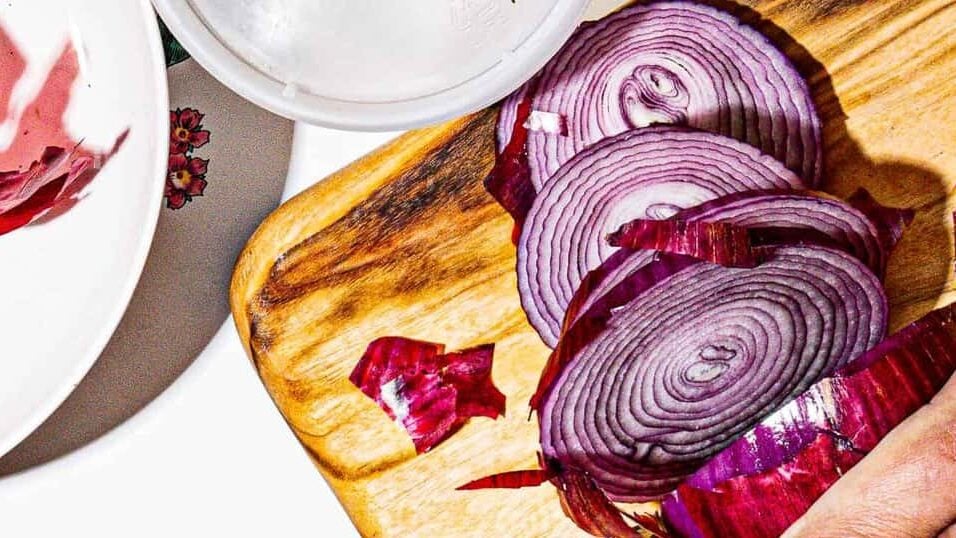
Dehydrating onions saves money and they are handy to have around when you need to cook something quick, or whip up some soup on a cold day. They keep for months and months in a sealed container or zip lock bag.

Learn how to dehydrate dandelion leaves for tea in the dehydrator or oven.

If you’re looking for a way to preserve your jalapeños peppers, dehydrating them is a great way to do so. It’s also a great way to prepare for making delicious homemade jalapeño powder
It’s really easy to do, and doesn’t take much time at all.
Here’s how to dehydrate jalapeño peppers in your oven or toaster oven:
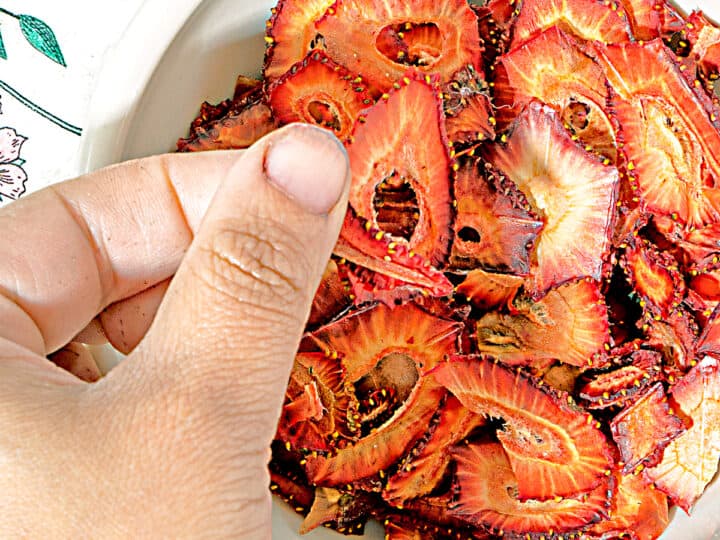
Dehydrated strawberries is the simplest way to preserve this delicious healthy snack

Peaches are in season during the summer and can be dried to keep them all year long. Dried peaches make a great snack or dessert and are easy to make at home with your dehydrator!

Dehydrated tomatoes have many culinary uses. You can use tomato powder to make delicious sauces and soups or a simple tomato sauce for your pasta dinner. You can also use dehydrated tomatoes to make a homemade pizza sauce.

Learn how to dehydrate orange slices in the dehydrator or oven.

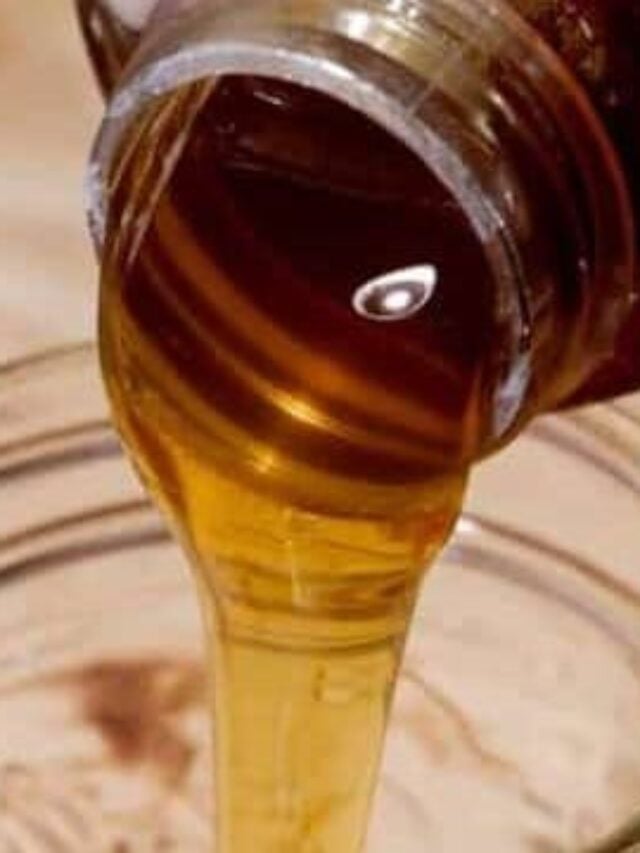
Making delicious fruit leather couldn't be easier! You can use riper fresh fruit, use a sweetener like corn syrup honey, or maple syrup if you'd like, and get on the teh path to a great snack in just a short time.

Drying rose hips is a fantastic way to make your own herbal tea. It's easy, it's cheap, and it's a great way to use up those extra hips you've got in the garden.
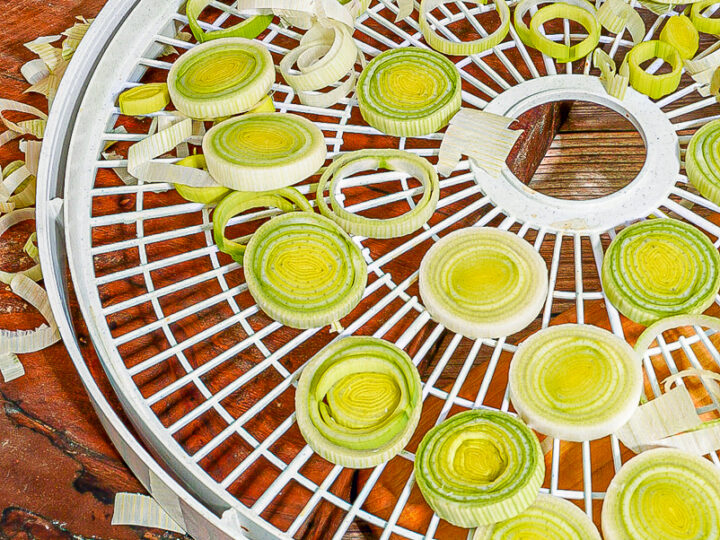
Learn how to dehydrate leeks in the dehydrator or oven.

Learn how to dehydrate plums in the dehydrator or oven.

Learn how to dehydrate habanero peppers in the dehydrator or oven.

Learn how to dehydrate cherries in the dehydrator or oven.
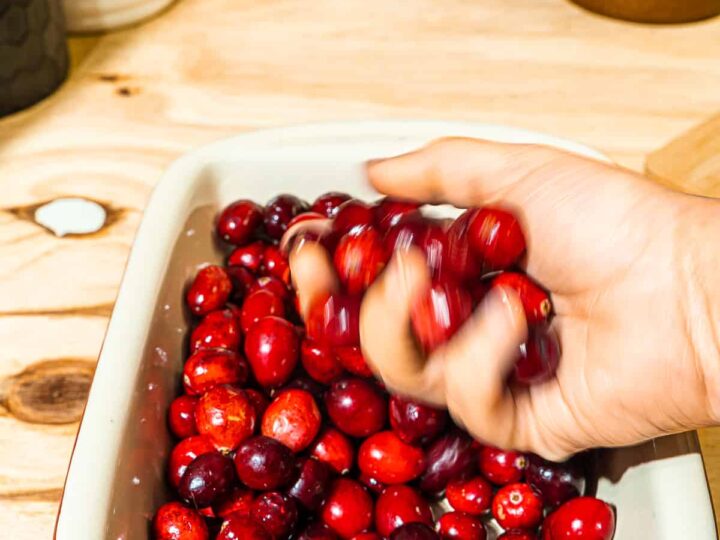
Making craisins! Learn how to dehydrate cranberries in the dehydrator or oven.
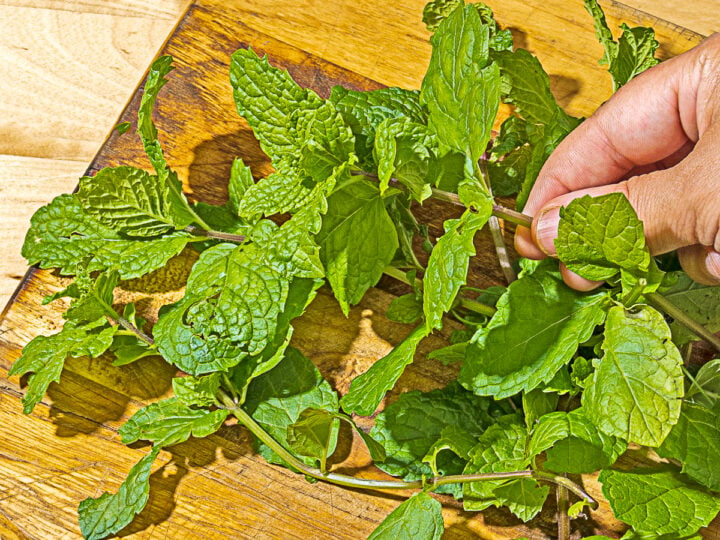
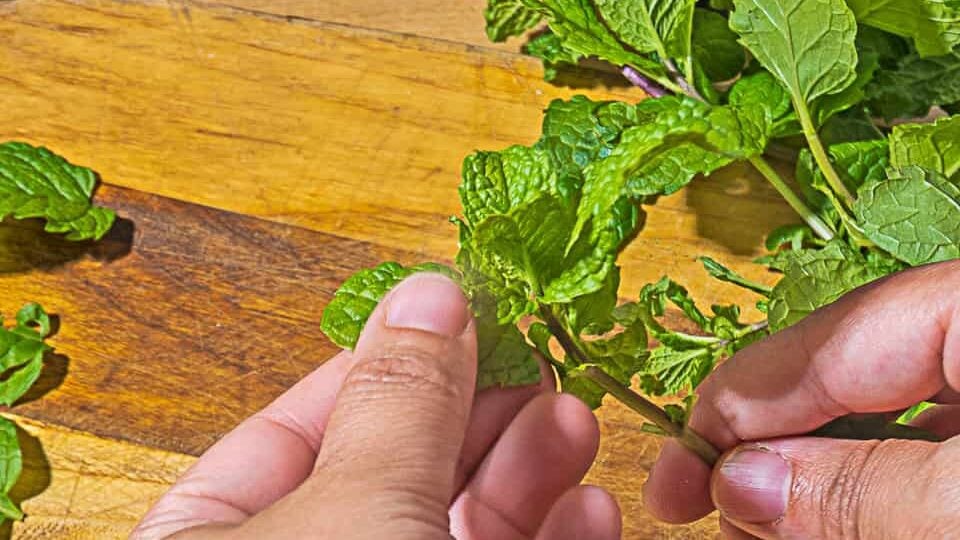
Learn how to dry mint in the dehydrator or oven.


Comments
No Comments