Plums are delicious snacks, but sometimes we can't eat them all before they get too ripe. Dried prunes evoke images of grannies feeding them to young kids. But, Y'all, home-dried plums are not the same as commercial prunes!
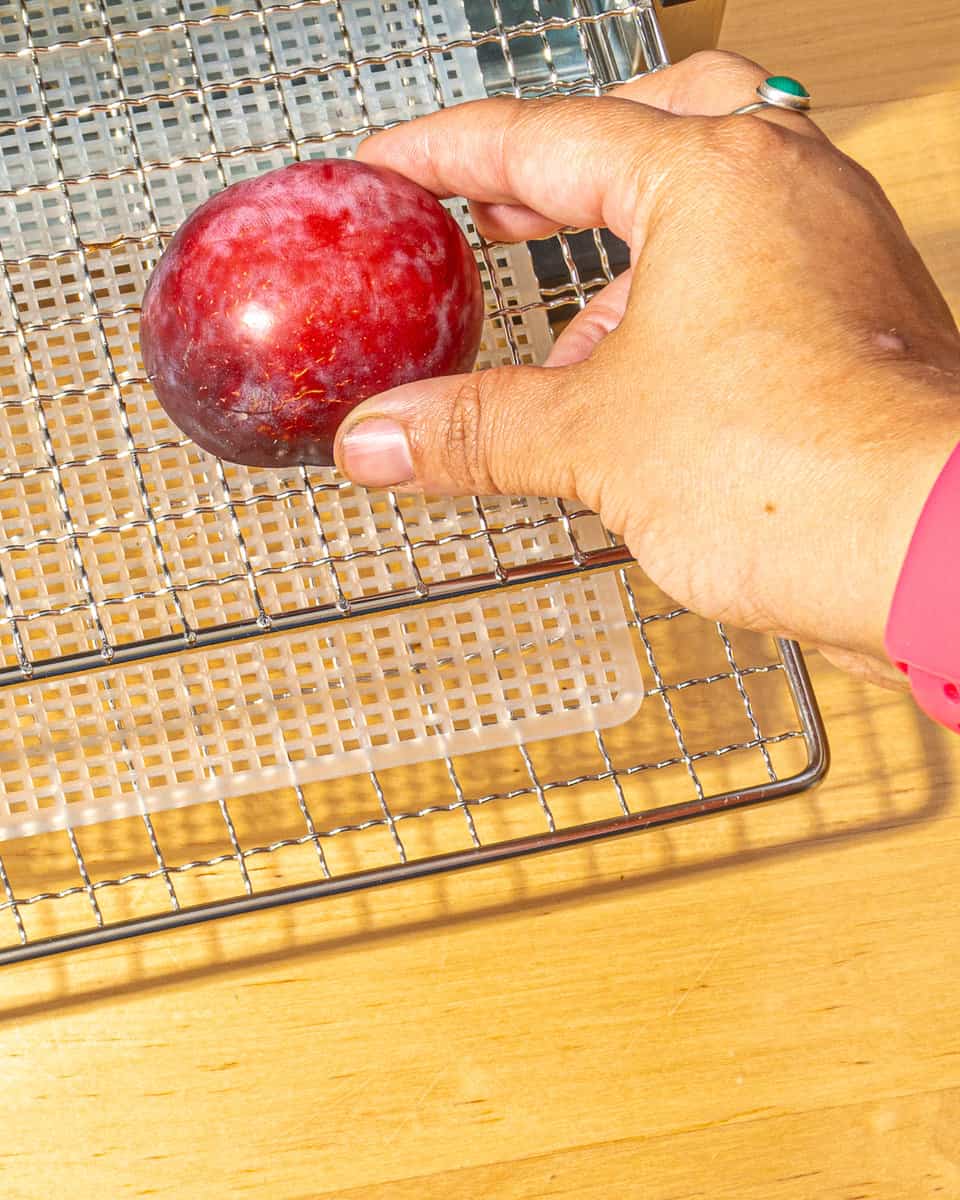
They are delicious, reduce food waste, and are easy to make. I'm excited to share how to dehydrate plums and what you can do with them.
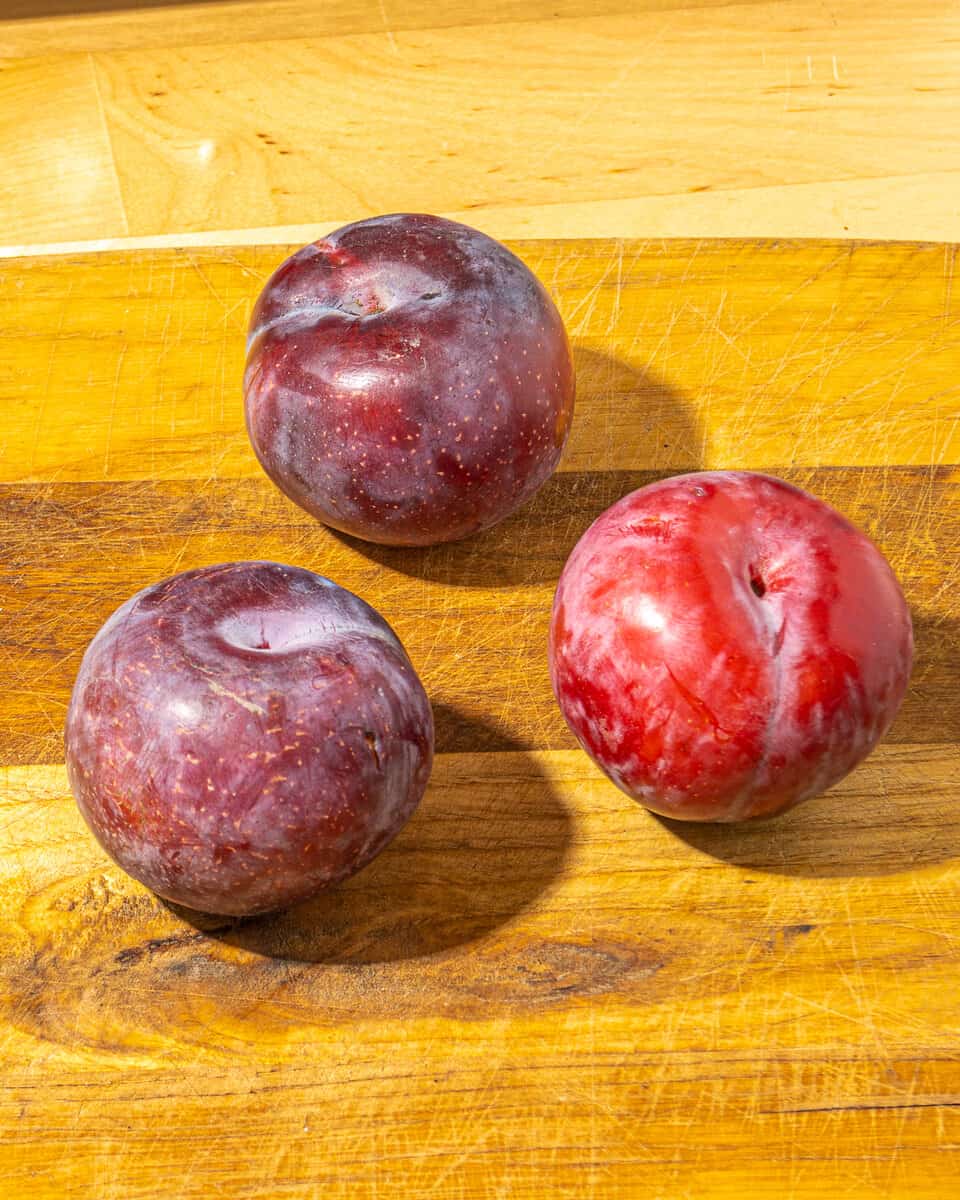
If you're like me and don't want to waste any fruit, drying plums is an excellent way to use up extra ones that might be sitting around getting soft or even moldy if you leave them out too long! I usually pick up a couple of pounds of plums locally each season and always miss the flavor when they are out of season. Ready to make some Fall snacks and put some respect on this seasonal stonefruit? Let's do it!
Jump to:
Instructions
Prep and Slice Plumbs


The first step is to slice your plumbs in half or smaller pieces, depending on how you plan to use them. Plums give off a lot of juice, so keep a towel nearby! You can dry whole plums too, I tend to dry plum halves for an easy snack. For faster drying, cutting the fruit into 1-inch chunks will speed things along.
How to Dry Plums in a Dehydrator
To dry plums in the food dehydrator, you'll want to follow these steps:
Set up your food dehydrator. Each manufacturer has different recommendations for setting up their products, so check the manual if you have any questions.
Place the plum slices onto a dehydrator tray and in the middle of your dehydrator.


Make sure that there is lots of space between each piece of fruit so that air can flow through correctly and circulate evenly throughout all areas of each tray.
Set the temperature according to your dehydrator's settings. I dry mine at 135 degrees and they can take around 6 hours, but the drying time will depend on the humidity and climate where you live. Make sure to check on them after four hours as you may have some smaller pieces that dry ahead of time.
Expert Tip
If it's your first time using a dehydrator, start out with smaller quantities drying one tray of fresh fruit at a time. Once you get used to how long it takes for different foods to dry out completely, then have at it! That way, you won't be stuck with an entire batch that took too long!
Oven Drying plums
Oven drying is another easy way to preserve plums, though it will take longer for them fully dry. Generally for oven drying the first step is to preheat your oven to its lowest setting temperature (usually 200°F (93°C)). It also helps to prop open your oven door to drive down the temperature to keep it from cooking the fruit. Line a baking sheet with parchment paper. Slice the plums in half, remove the pits, lay them cut down in a single layer, and dry them for about eight hours.
Condition or harden
Once the plums have dried to a leathery texture, are dark in color, and come to room temperature, it's time for conditioning or hardening. This part of the drying process helps the fruit retain its shape and texture and gives it better shelf life. But, the drying time can vary depending on the size and type of plum you're using.
You can tell if your fruit is ready for conditioning by bending one between your fingers; it should be flexible but not soft or moist. If you find some pieces don't seem keen, give them an extra day or two before continuing with conditioning. This will ensure that you can keep them for a long time.
Ingredient Purchasing Tips
You'll want to buy the best plums or pick them if you have a plum tree! Several plums are available, but in the Northeast, European and Asian varieties are the most popular. Keep an eye out for freestone plums, so you don't have to fight the pits!
This means that they should be firm and ripe but not overripe. They should also be free of bruises, cuts, spots, or soft spots. You can use a sharp knife to check for a ripe plum by cutting into the plum at its equator without slicing it through it. If the flesh is orange-yellow instead of white when you slice it open (like in the photo above), then your plums are good to go!
how to use dried plums
Here are some ways to use your dried plums:
- Add the dried plums to any leafy green salad in a salad, or add them to your favorite fruits for a sweet and savory combination.
- In a grain salad: Dried plums work incredibly well as an addition to salads because their chewy texture is more similar to raisins than other dried fruits, so they blend right in with the rest of the ingredients.
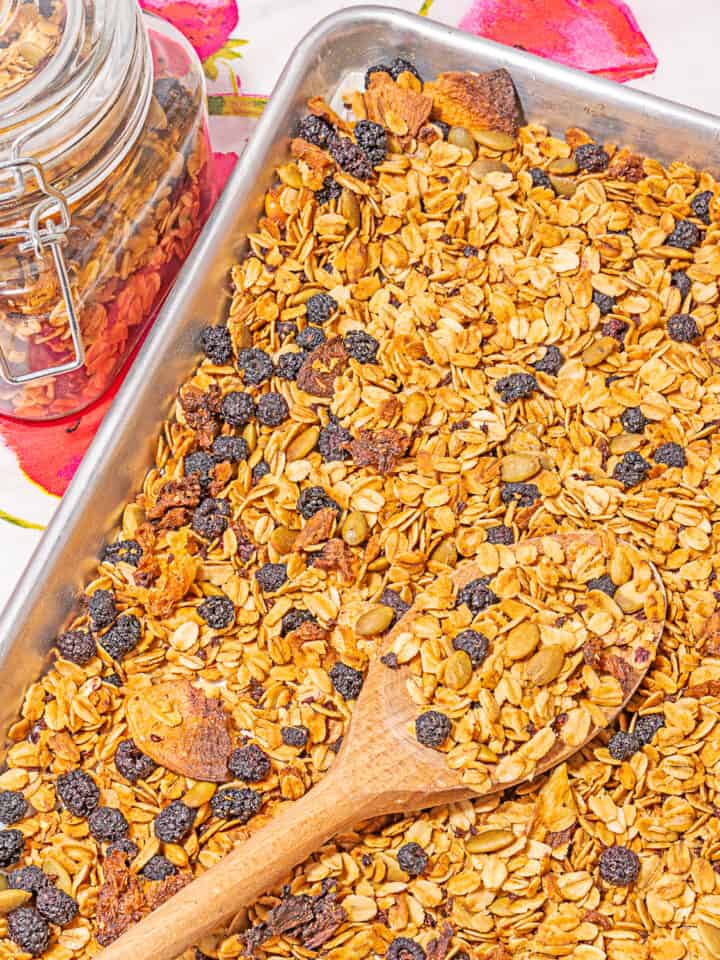
- Dried plums are a perfect addition to trail mix! Check out my End of Summer Granola for how to use seasonal fruits and other dried and preserved treats.
Storing Tips
Once your plums have been dehydrated, they'll last for a while. Keep your dried fruit in a cool, dry, and dark place. If you're planning to keep them for more than a month, it's best to divide the finished product into smaller portions so that the fruit doesn't grow stale too quickly.
Also, keep your dried plums away from sunlight and moisture; both are strong enough to spoil the fruit even if it's still safe to eat.
Equipment Used
- paring knife
- glass jar for storage
- plastic freezer bags for snacks
FAQs
One of the best things about plums, and one of the reasons I love them so much, is that they're in season from May to August. Of course, they're also available during other times of the year (I think I've even seen them at the grocery store in January), but they tend to be pricier and less flavorful at those times.
📖 Recipe

How to Dehydrate Plums
Ingredients
- 3 whole plums
- 1 airtight container
Instructions
- Start by slicing plums in half. and remove the pit.
- placing plum halves on a tray in a single layer.
- Make sure there's plenty of space between them.
- Set the temperature to 135 degrees and dry for a minimum of 8 hours and check on them periodically.
- Once, dry, add to a sealed container and shake once a day for a week to ensure they are fully dry.
Notes
The storage time of dehydrated plums depends on how you treat them after drying and sealing them up tightly in an airtight container. If you store them properly—keep away from light, heat sources like ovens or microwaves (which can cause bacteria growth), moisture (in damp conditions), and other unsealed containers that might allow air circulation—they'll stay good for more extended periods (maybe even months).
Nutrition Information:
Yield:
3Serving Size:
1Amount Per Serving: Calories: 30Total Fat: 0gSaturated Fat: 0gTrans Fat: 0gUnsaturated Fat: 0gCholesterol: 0mgSodium: 0mgCarbohydrates: 8gFiber: 1gSugar: 7gProtein: 0g



Comments
No Comments